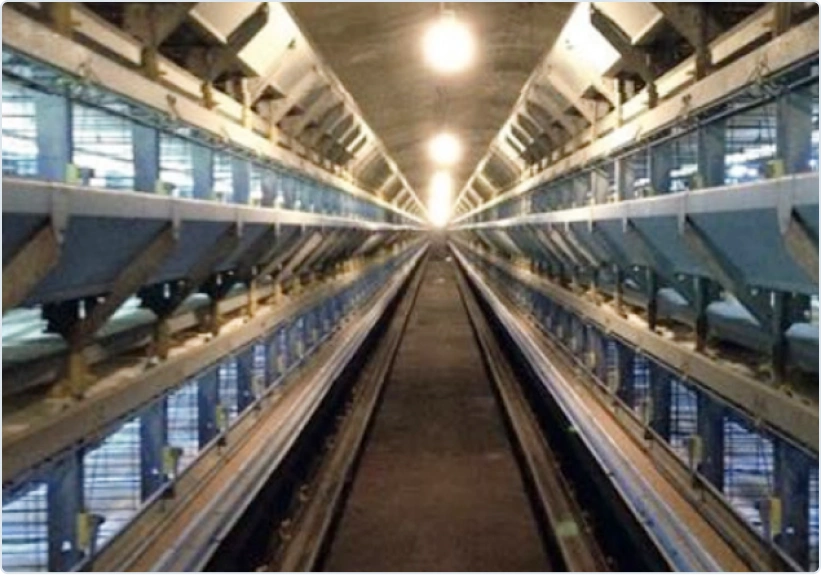
It is essential to remove all equipment or waste (dead birds, feed, eggs, manure, etc.) left in the house before cleaning. Any removable material/equipment should be detached
Step 2
Dry cleaning
This removes all dust and dry organic material from the house using compressed air, brooms or shovels.
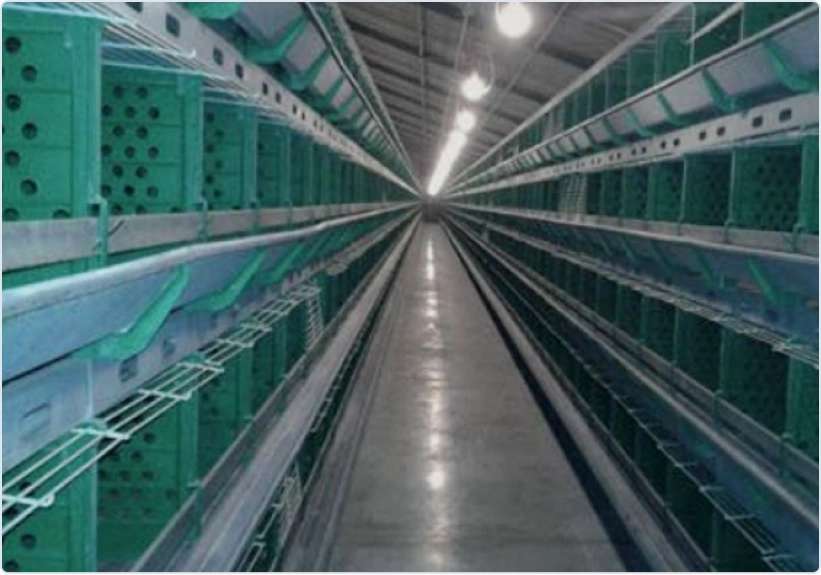
Step 3
Wet cleaning
This removes all remaining organic material and grease. Thoroughly clean using detergent and hot water. Apply foam detergent and leave it to work for the specified time.
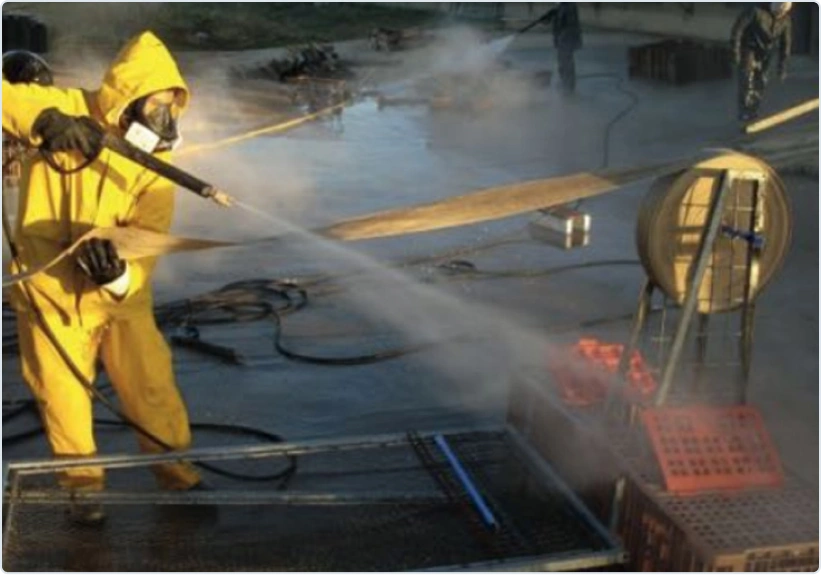
Step 4
Disinfection
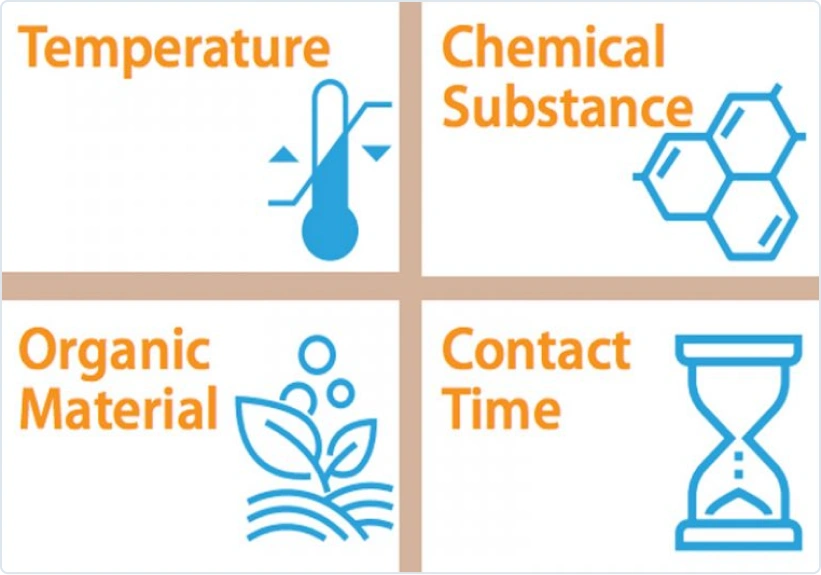
This kills all remaining pathogens that survived the previous steps. For good performance:
Use only reliable and efective disinfectants.
Apply the appropriate dose.
Respect contact time and temperature.
Follow the label instructions.
Use appropiate PPE (personal protective equipment).
Step 5
Fumigation
Fumigate after liquid disinfection has been completed and the equipment has been installed again.
Follow the label instructions.
Use appropiate PPE (personal protective equipment).
Step 6
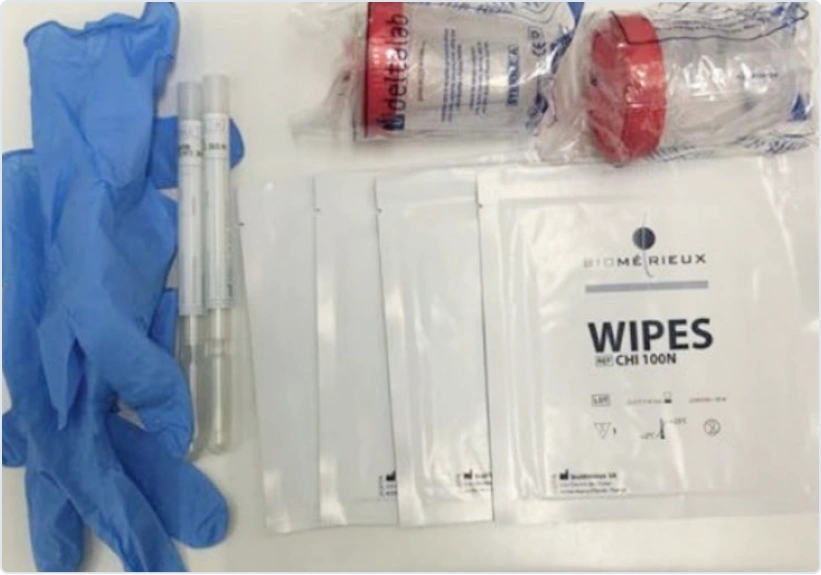
Sampling
Sample after cleaning and disinfection, check if the microbiological results are ok. Corresponding sampling and laboratory analysis should be performed: at least eight samples per house should be taken, distributed randomly as shown in table 1. If results are unacceptable, take corrective measures.
Cleaning and disinfection procedures
Cleaning and disinfection procedures are key to preventing pathogens from passing from one flock to the next. They also prevent pathogens from challenging birds in their early life. The goal of this procedure is to minimize all microorganisms in the house to older chicks the best opportunity to achieve optimum performance.
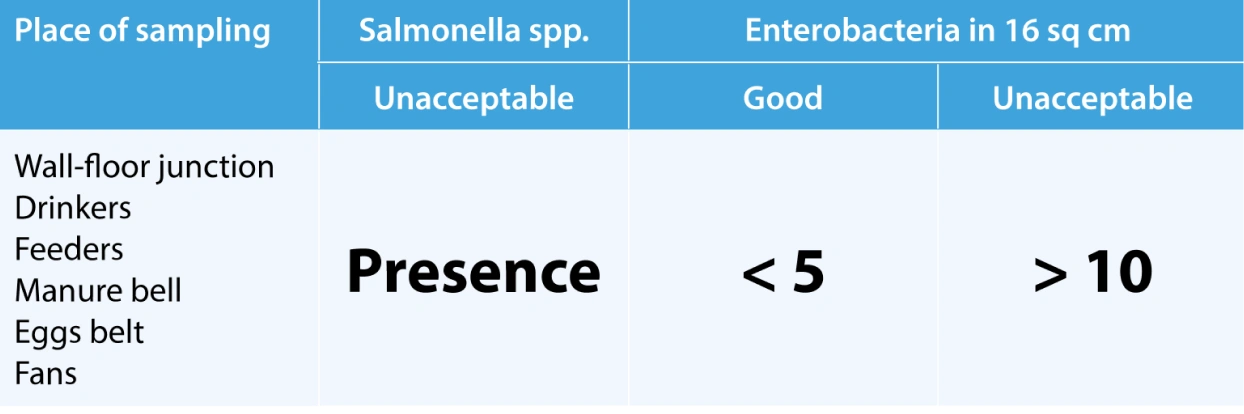
Table 1: Clean and disinfection microbiological results
Stocking Density
An adequate stocking density leads to success in rearing chicks. A high stocking density impacts negatively on daily growth, flock uniformity and chick development. Furthermore, a high stocking density combined with reduced feeder space will limit feed consumption, which might already be low under certain conditions (e.g. hot climate or poor feed quality,) and sufficient access to water.
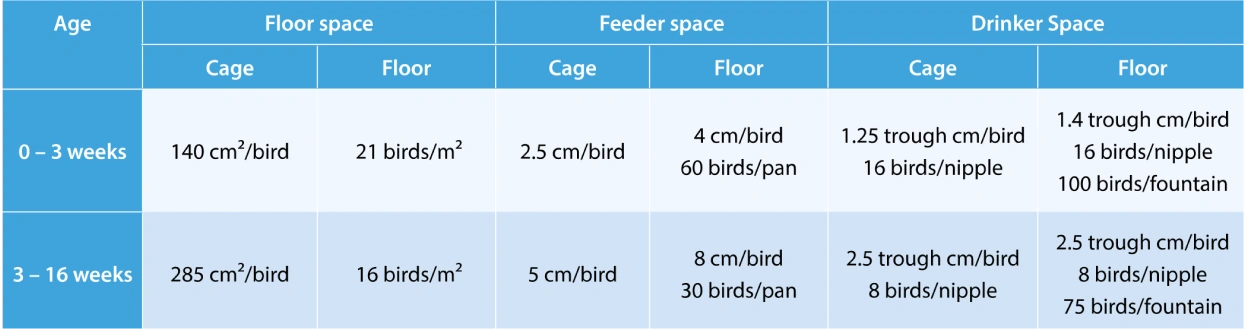
Table 2: Stocking density in rearing farms This table is a general recommendation and you should adhere to your own country’s recommendations.
Pre Heating the rearing house
Pre-heat the house before the chicks arrive. Preheat 24 hours before arrival in warm weather and 48 hours in cold weather.
Temperature recommendation:
Soil: 24 °C Litter: 30 °C Air: 34 °C
Do not only heat the air, but also litter, soil and equipment. Chicks gain and lose temperature easily through conduction. In case of floor rearing, bring in the litter after preheating to allow the concrete to reach the desired temperature (24 °C).
Rearing house preparation | Flooring Rearing system
Distribute litter and paper
Old litter from the previous flock should not be used. Using old litter increases the pressure of disease and may cause increased chick morbidity or mortality. Insoluble grit should be fed if the chicks are on a type of (e.g. shavings) that will be eaten by the chicks.
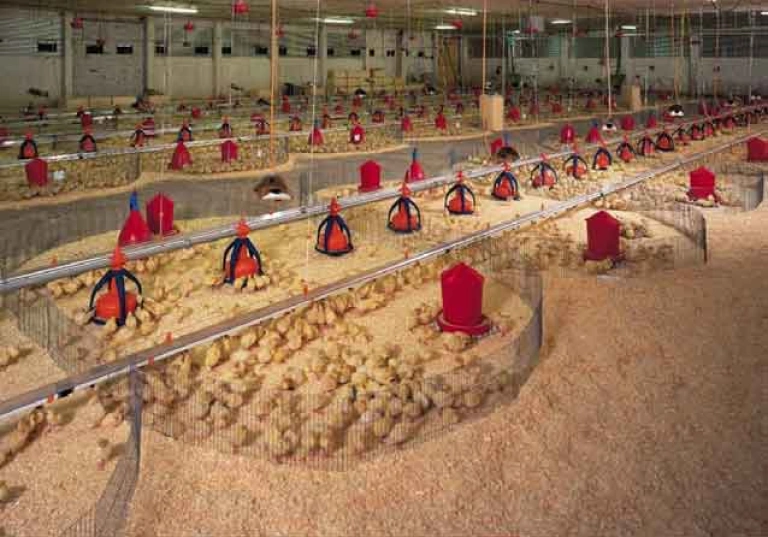
Spot brooding
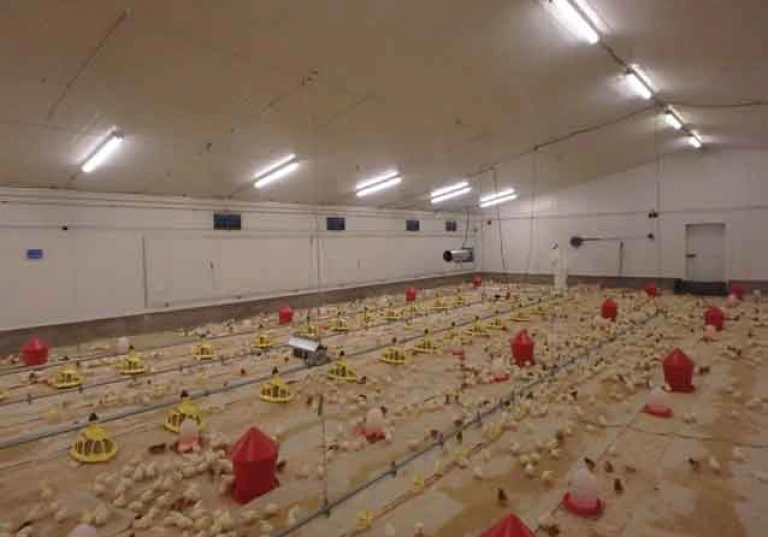
Whole house brooding
Feeding system
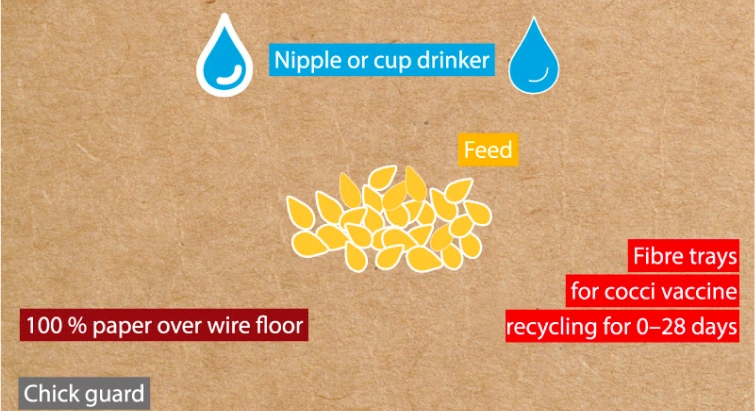
Supplemental feeder trays should be provided within the brooder ring for a few days until all chicks are eating from the regular feeding system. Ensure adequate feeder space is provided. Cover at least 50 % of the brooding area with paper and starter feed over the paper.
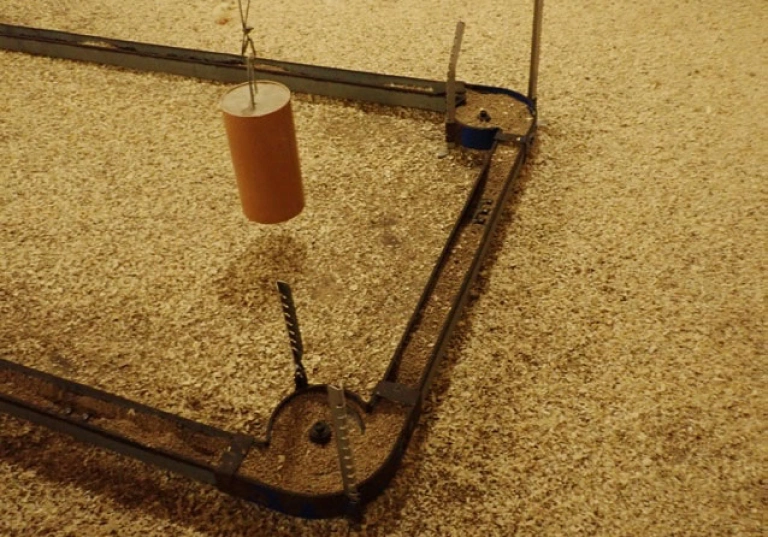
Feeder
Feeder
Drinking system
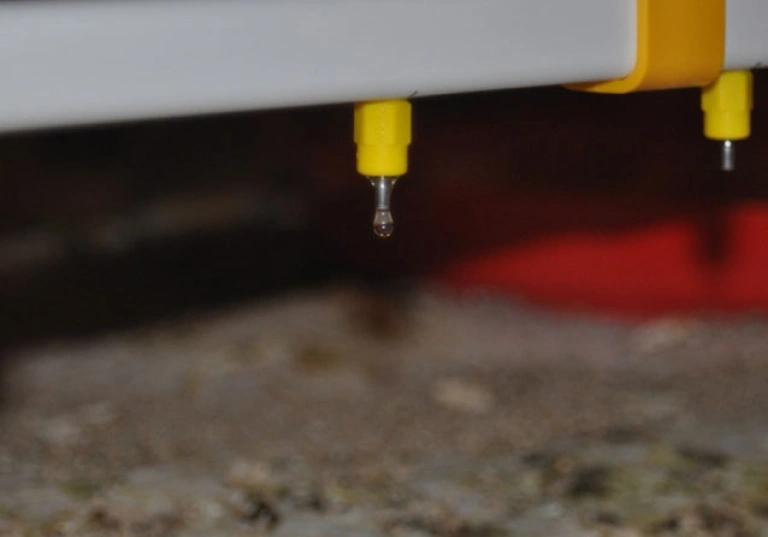
Chicks must have unlimited access to clean and fresh water (20 – 25 °C). During the first days, cups or nipples should be checked and triggered several times per day to stimulate the chicks to drink. Supply additional drinkers which can be easily accessed until the chicks are drinking from the regular water system.
If using nipple drinkers, reduce the water pressure for a few days. This allows droplets to develop which help stimulate the chicks to drink.
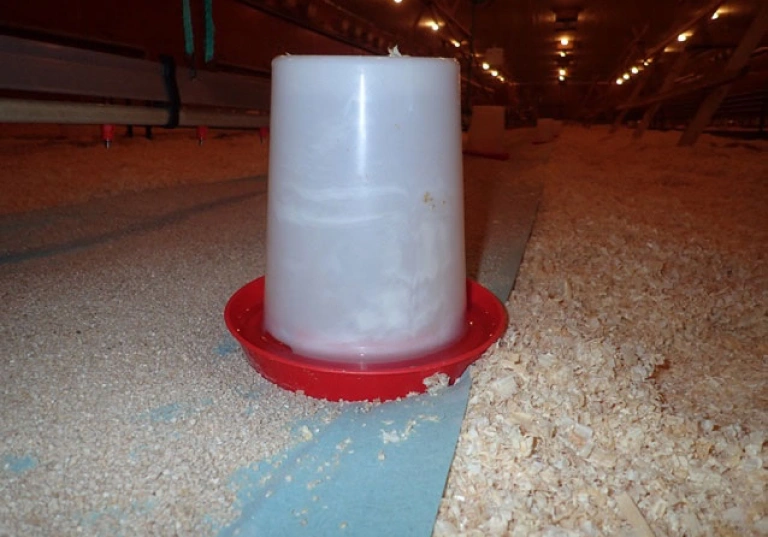
Drinker
Drinker
Ventilation
Guarantee enough fresh air, but no draughts. In conventional pancake brooders, use chick guards (i.e. new cardboard) to prevent drafts. Start with a diameter of approx. 2 m in cool weather and approx. 4 m in hot weather. Enlarge the ring every couple of days and remove by six or seven days of age.
Cage rearing preparation (cage rearing systems)
Distribution
Birds are housed at a higher stocking density during the first weeks. To ensure uniform pullet growth, it is important that the birds are moved into the empty cages at the appropriate time and with the correct cage density.
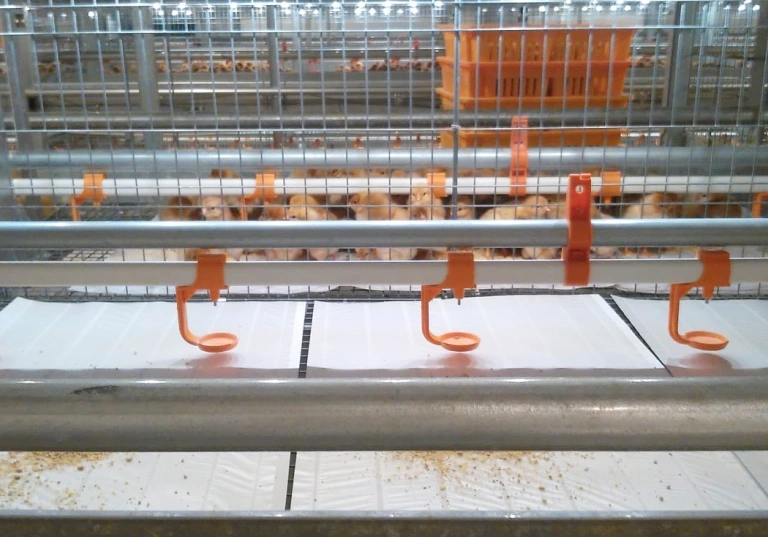
Paper
Cage wires should be covered with paper during the first week of life. Avoid covering the area directly under the drinking system, but cover the surrounding area. In cases where the wire size is too large for day old chicks. Use clean plastic matting to aid the chicks in reaching the drinkers.
Feeding system
Abundant feed should be provided in the feeders and additionally on the papers inside the cages before the chicks are housed to stimulate feed intake. When there is a feedchain inside the cage, fill this chain up to 100 % (Manual) to reduce mortality when you run the feedchain in the first day(s).
Drinking system
360-activated nipples in the brooding cages are preferred. If unavailable, provide cup drinkers during the first week. Reduce the water pressure on the nipples to make triggering the nipples easier and attract the chicks by the drop formation. flush the lines and cup drinker just before housing the chicks.
Chick Housing
Transport
Transport can have a critical impact on oneday old chick quality. The correct temperature and ventilation levels should be guaranteed during transport. The transport time should be as short as possible. If transport exceeds more than 10 hours, the addition of a hydration product crates is recommended. For longer transport it is recommended to use temperature and humidity loggers.
Truck unload
Transport truck
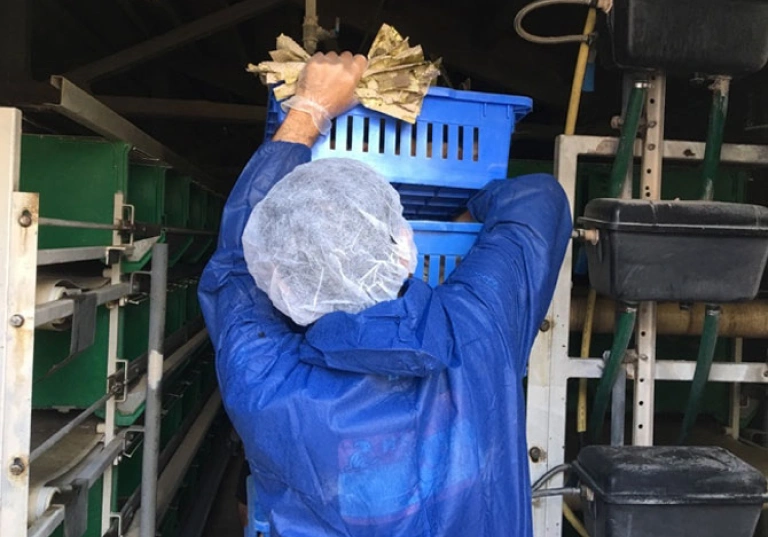
Unloading the chicks
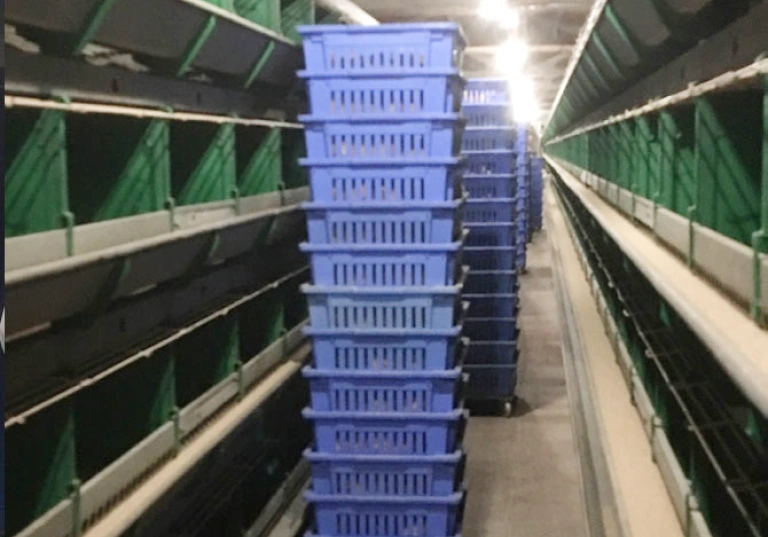
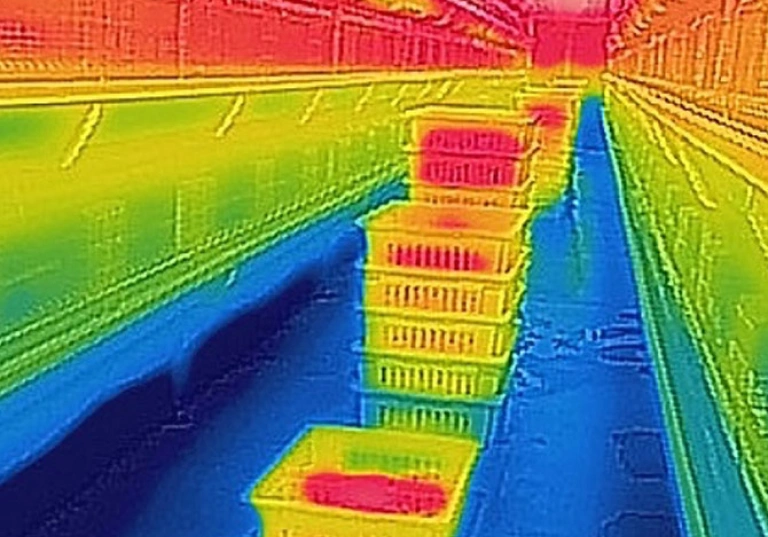
Place the birds gently but quickly into the house and provide immediate access to water and feed. Crates should be taken into the farm and distributed as soon as possible. Never store crates in conditions that are too hot or cold, windy or in direct sunlight. With floor brooding, place the chicks directly over the paper and feed. With cage brooding place the right number of chicks in each cage.
Crates waiting in the farm to transfer the chicks to the cages
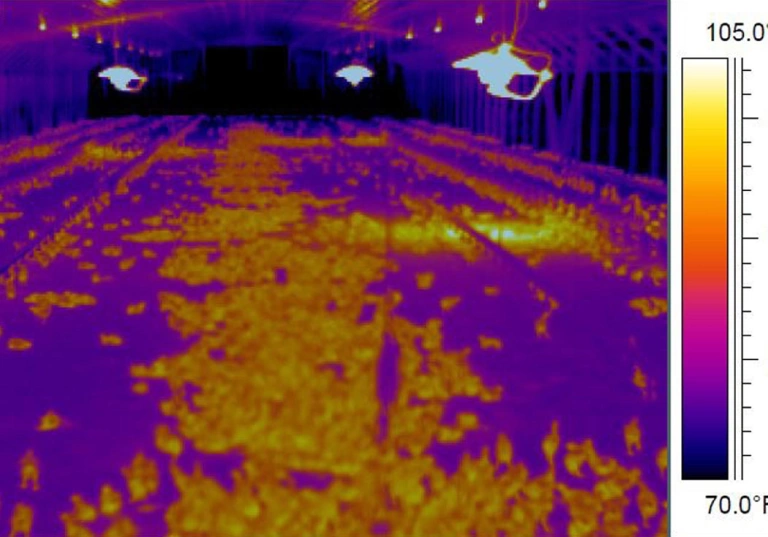
Thermograhic picture of crates while the birds are housed in cages
Chick quality
On arrival the chicks must be warm and active. Check that there is no abnormal mortality in the crates. The chicks’ bodyweight should be measured individually once housing has been completed. Check the body temperature as explained on page 14 and adjust the house temperature. Record the mortality at housing and inform the hatchery. Also inform them about the chick quality.
Taking samples of the crates to evaluate the chick quality