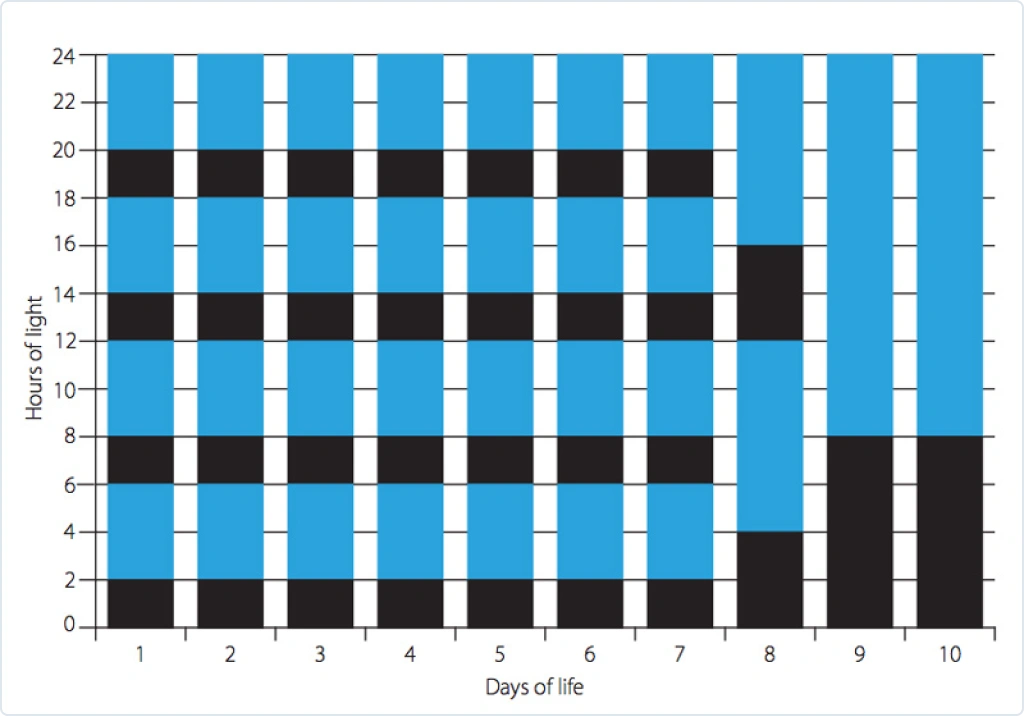
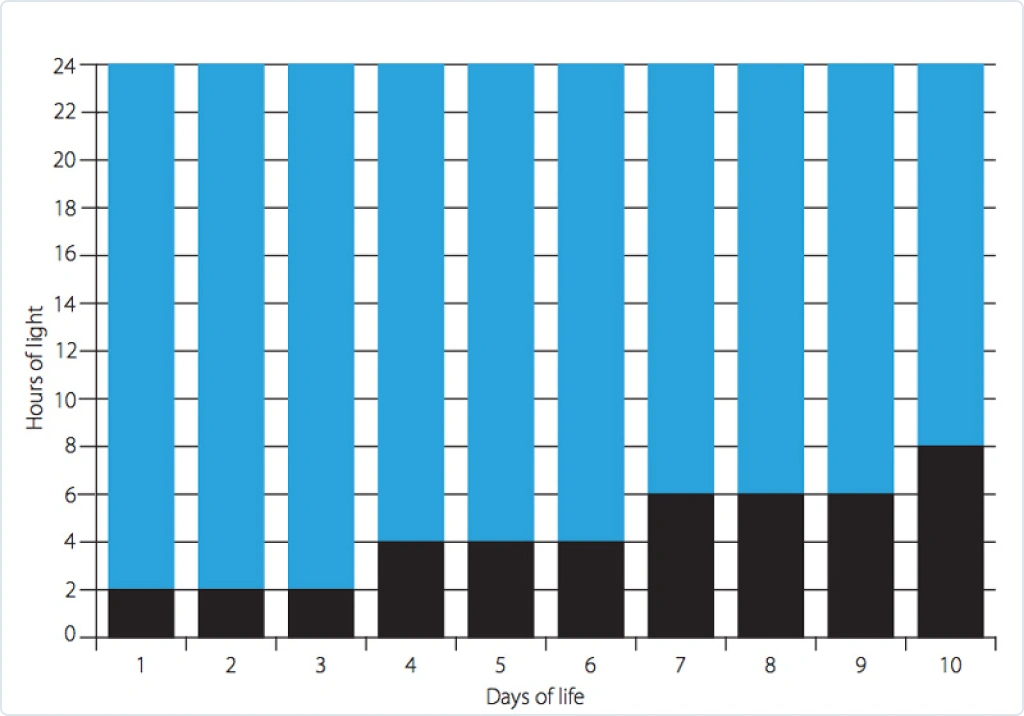
This program can be used for up to 7-10 days after arrival. Then switch back to the regular step-down lighting program. Using this lighting program has the following advantages:
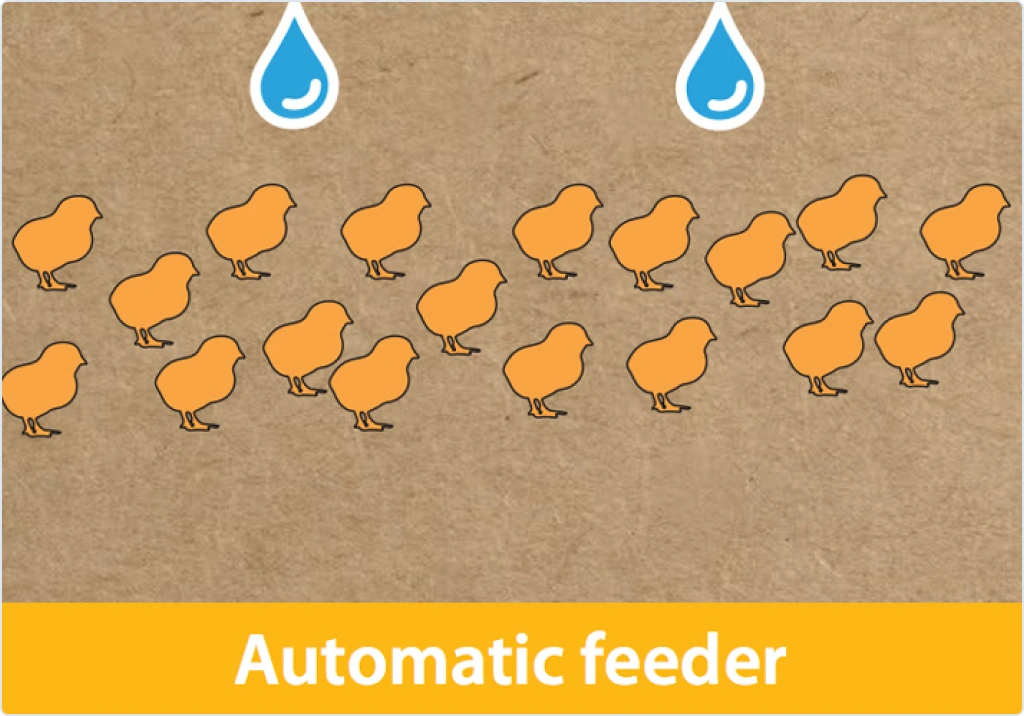
Chick behavior is synchronized; they rest or sleep at the same time.
Weak chicks will be stimulated by stronger ones to move as well as to eat and drink.
The behavior of the flock is more uniform and evaluating the flock is much easier.
Chick mortality will decrease.
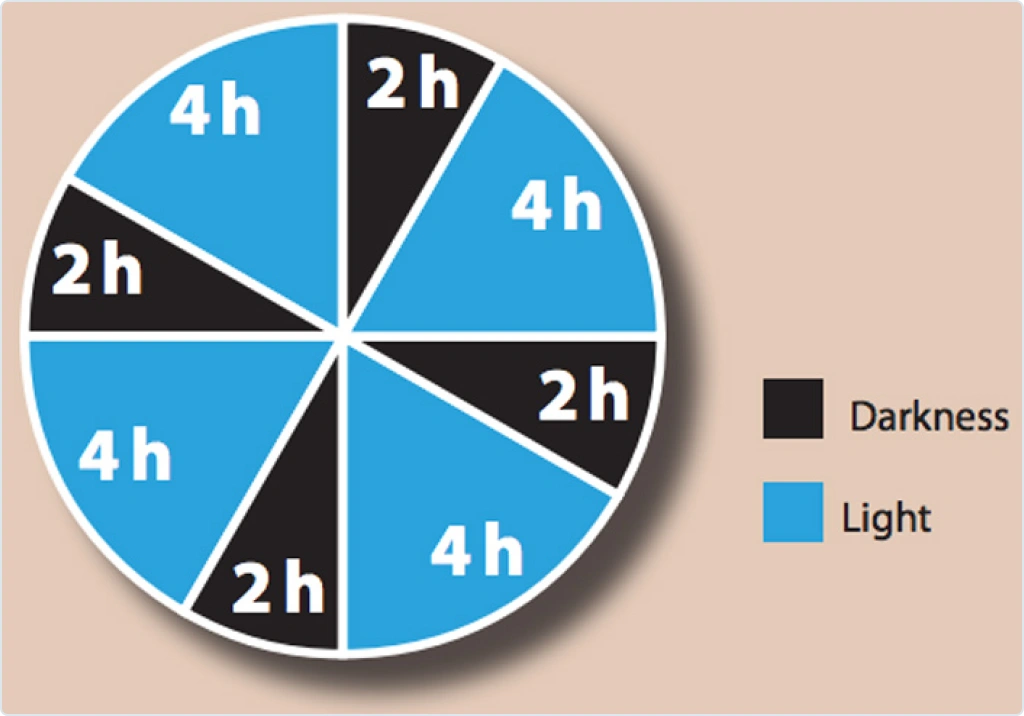
Intermittent lighting program
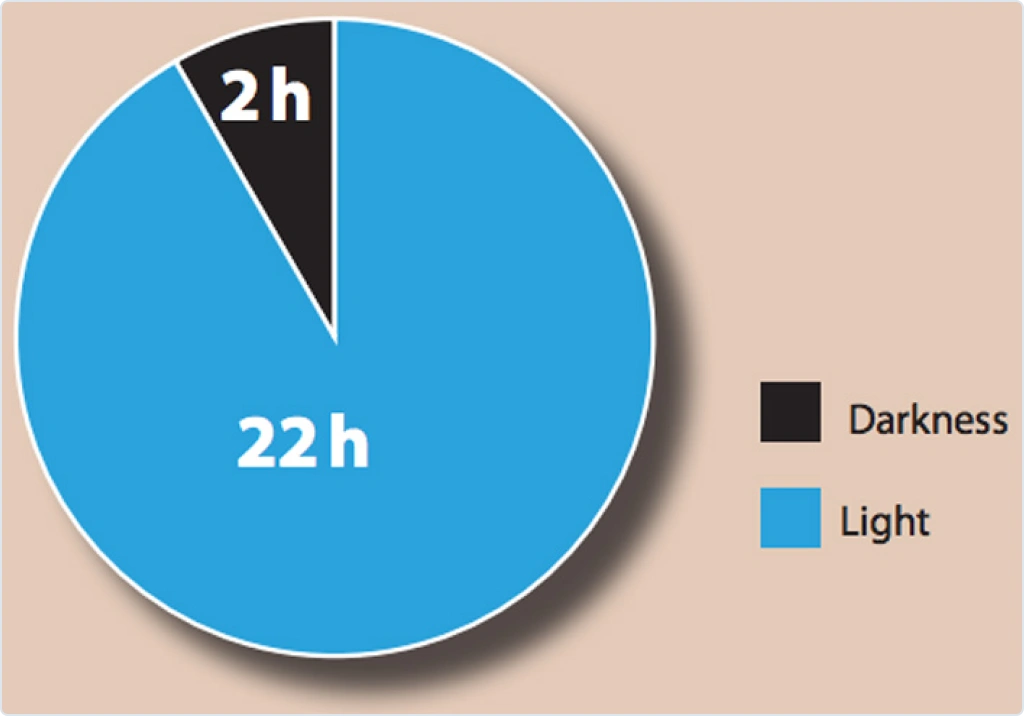
Non-intermittent lighting program
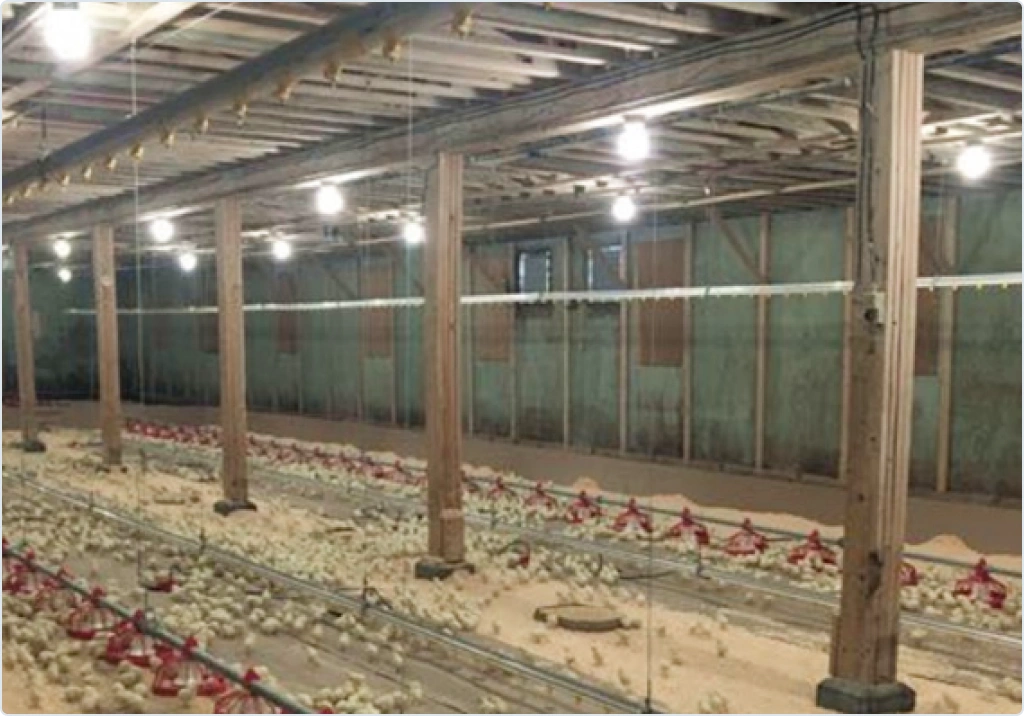
All houses
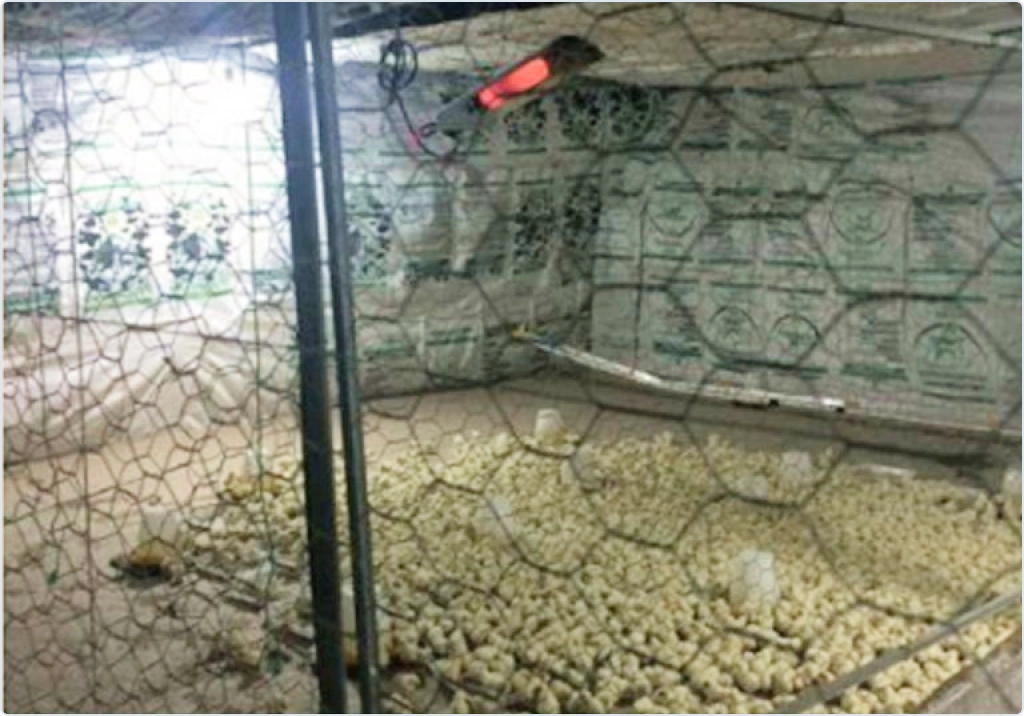
In open houses is not easy to implement the intermittent lighting program. If this cannot be applied, 22-24 hours of light during the first 2–3 days is common practice. Providing this dark period to allow the chicks to rest is highly recommended.
In a dark house the light level should be lower than 3 lux whenthe light-proof system is set. In other words, it must be completely dark.
Non-intermittent lighting program
What do chicks need during the first week?
Temperature
The temperature should be between 34–36 °C for the first few days (see table).
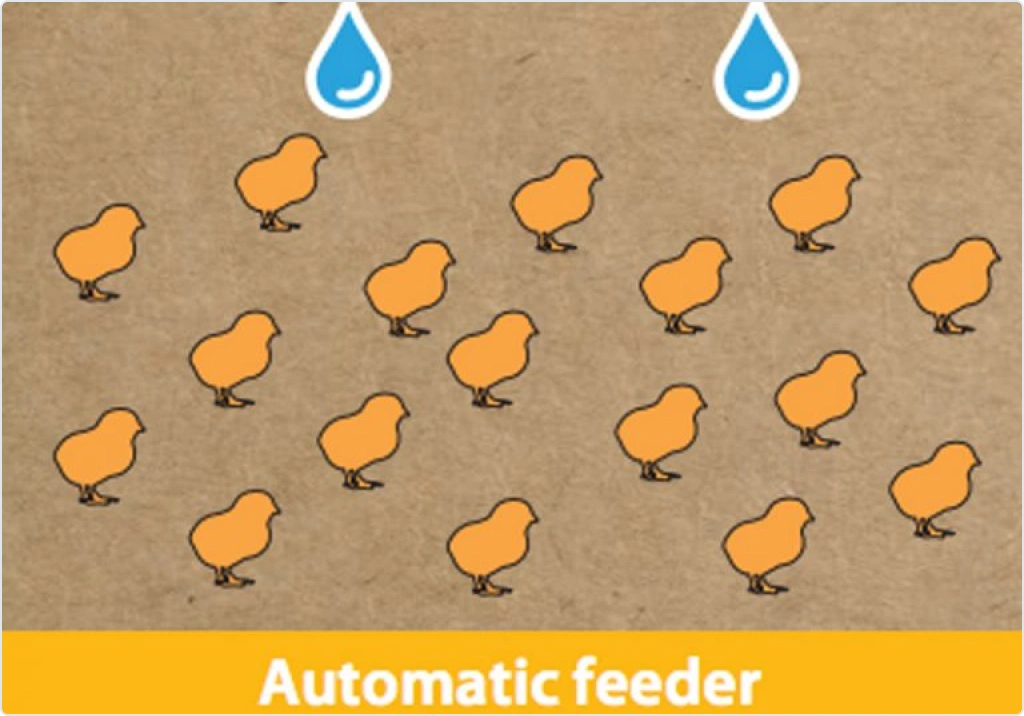
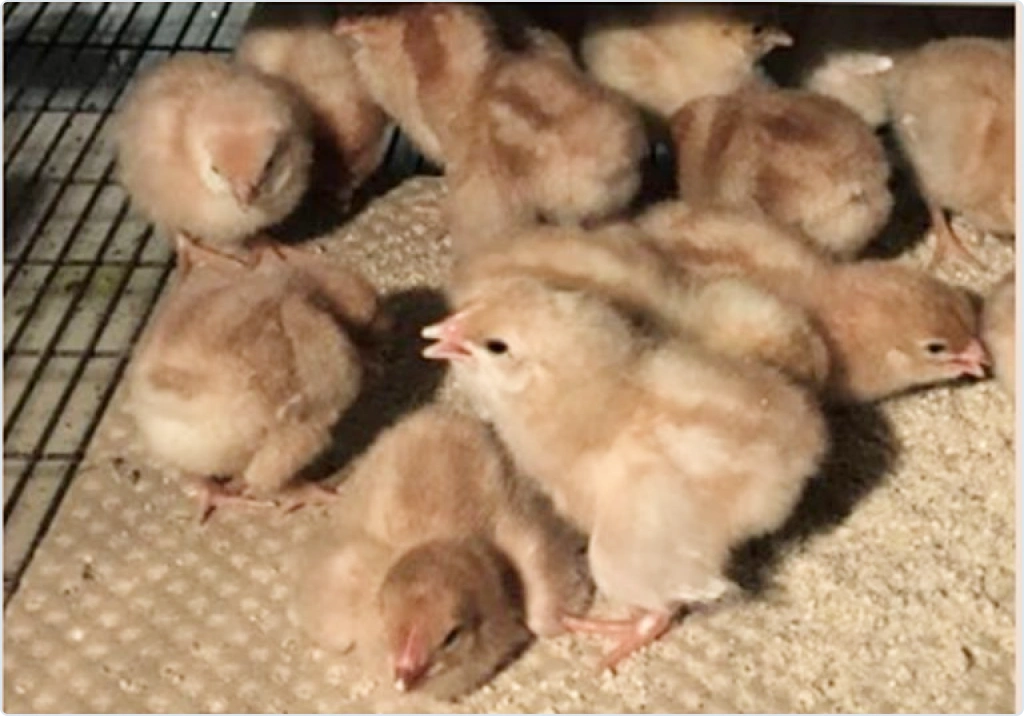
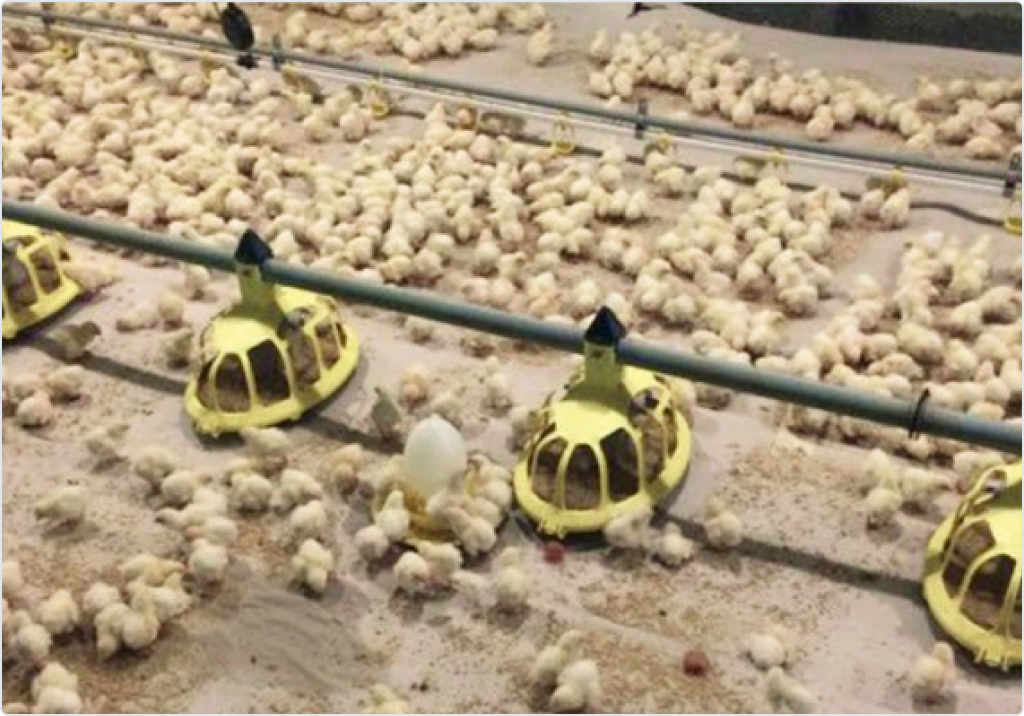
Correct temperature: Chicks will be well distributed and active
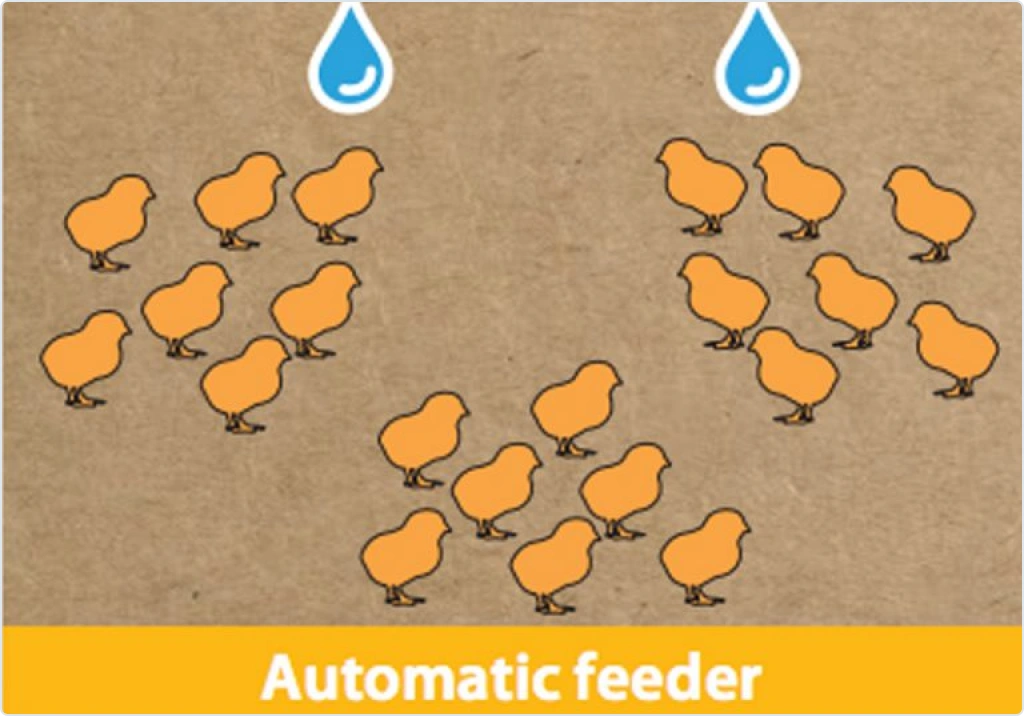
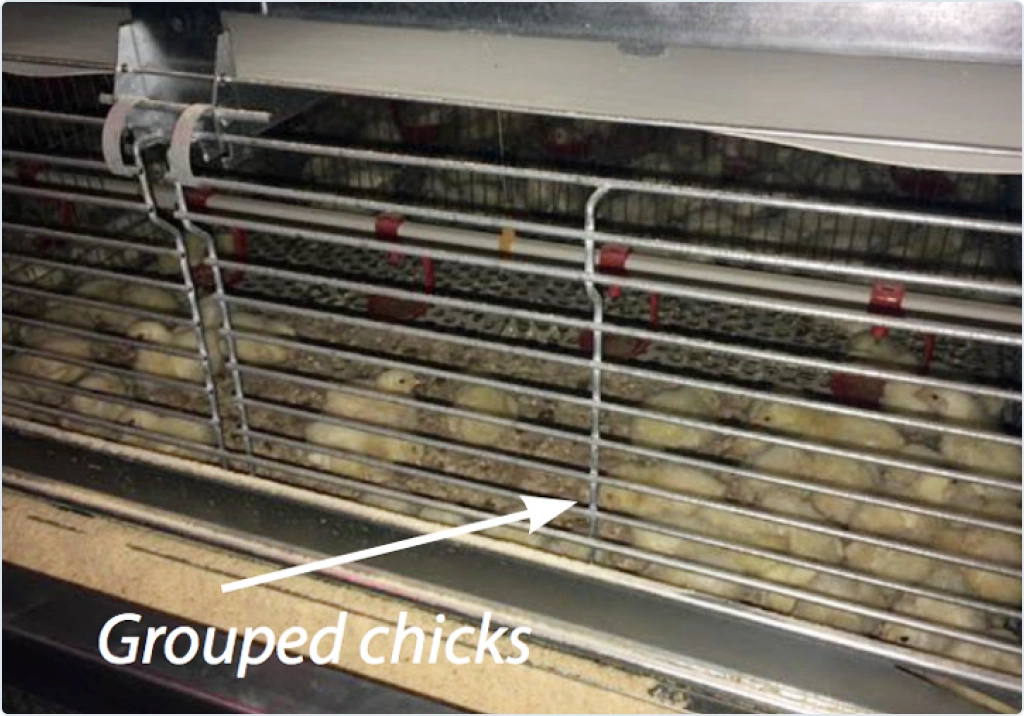
Low temperature: Chicks will group together and sound stressed.
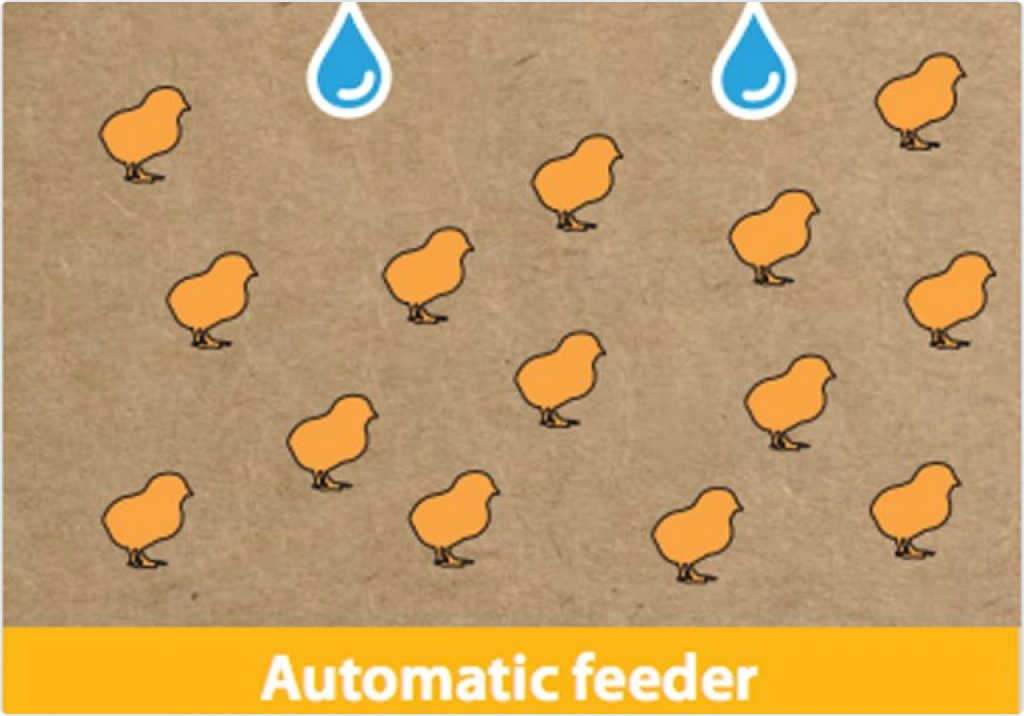
High temperature: Chicks will group in the coldest places, are inactive and pant.
Temperature recommendations
Cage air temperature: 34–35 °C
Paper and/or litter temperature: > 32 °C
Concrete/ground: > 28 °C
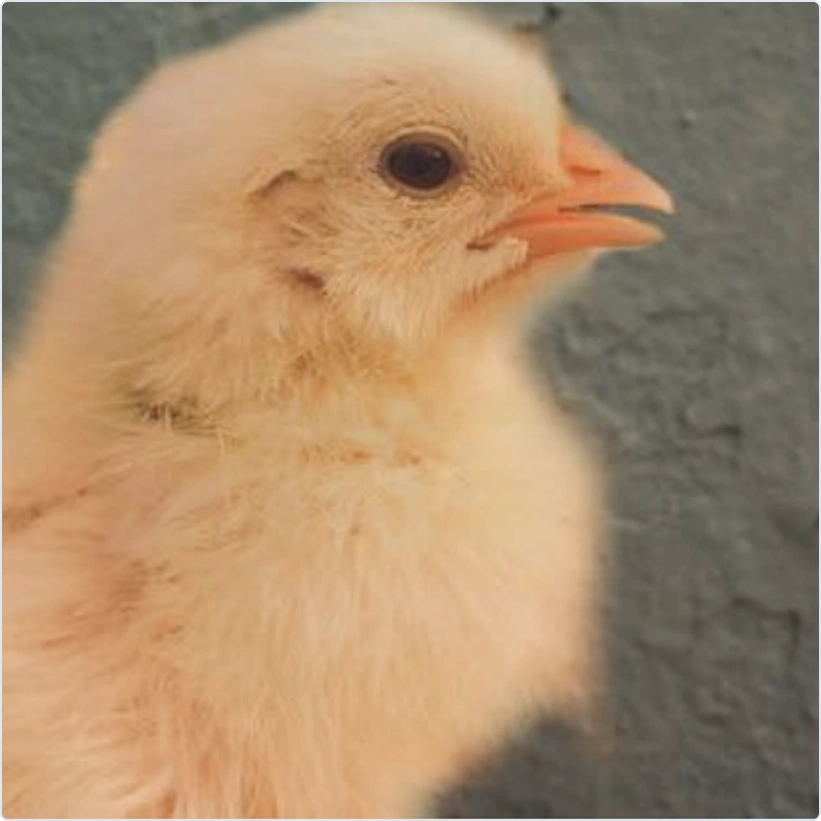
Pasted vents may indicate a too high or too low temperature.
The temperature management in cage brooding is more critical than floor because chicks can’t look for warmer or cooler spots.
After two or three days, decrease the temperature by 0.5 °C every day. Be aware that the best indicator is chick behavior and cloacal temperature. Check the flock every time you change your settings. If the house temperature is not uniform, take corrective measures by changing heaters and ventilation parameters. When housing the chicks, follow these recommendations:
Place the smallest chicks in the hottest areas or cages.
Place the youngest chicks in the hottest areas or cages (if the flock is arriving over several days).
During the first 10 days avoid placing chicks in very hot spots (near the heaters) or in very cold spots. If most of the chicks are from a young flock (less than 27 weeks), increase the objective temperate 1 to 2 ˚C (1,8 to 3,6 ˚F).
Place the males together with females in case of Brown Nick and white breeders when males are dubbed.
In case of non-dubbed white males, keep them separate for the first 6–7 weeks or until you recognize the secondary sexual characteristics, and after culling all sexing errors.
If males are from a young PS flock (less than 27 weeks) keep them separate for the first 5 weeks in the warmer place of the house (when necessary, add females to stimulate activity).
Cages: is necessary to place only comb treated males.
Leave the extra males separate in pen or cages.
In countries where dubbing is not allowed, an option is to wing-band the white males.
Temperature recommendation
Correct temperature distribution
Low temperature distribution
Hot temperature distribution
Water
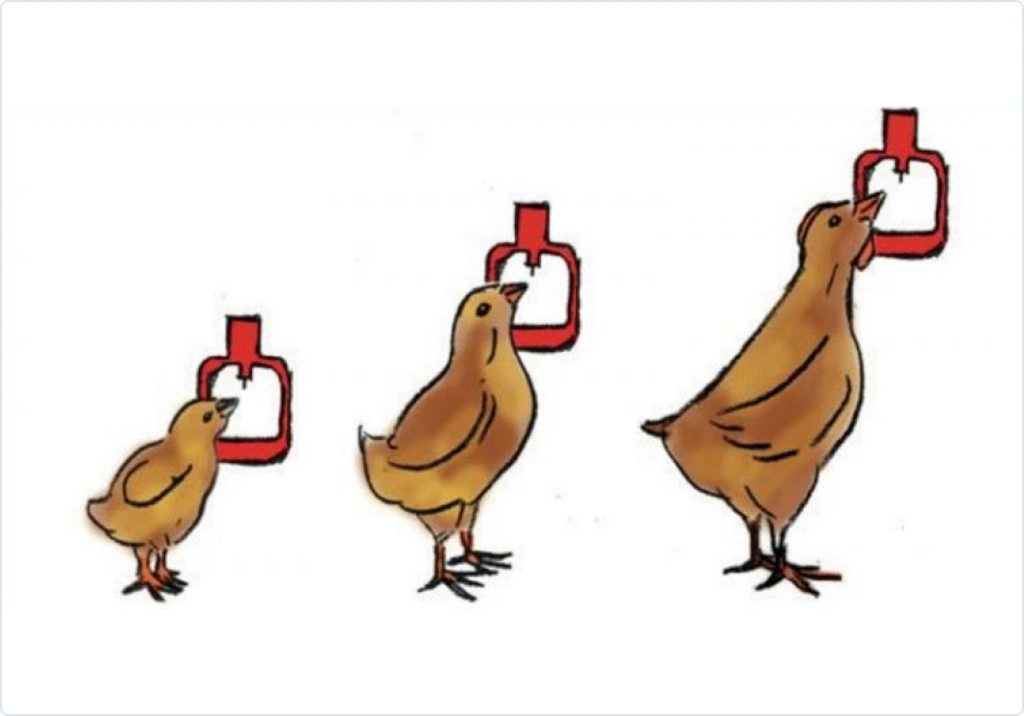
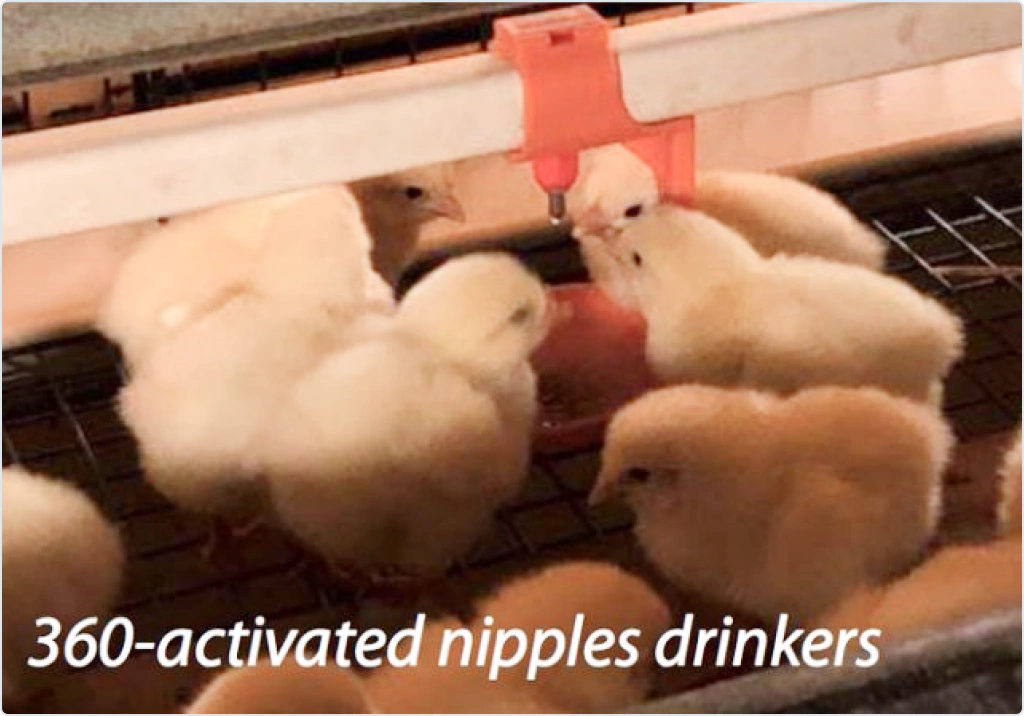
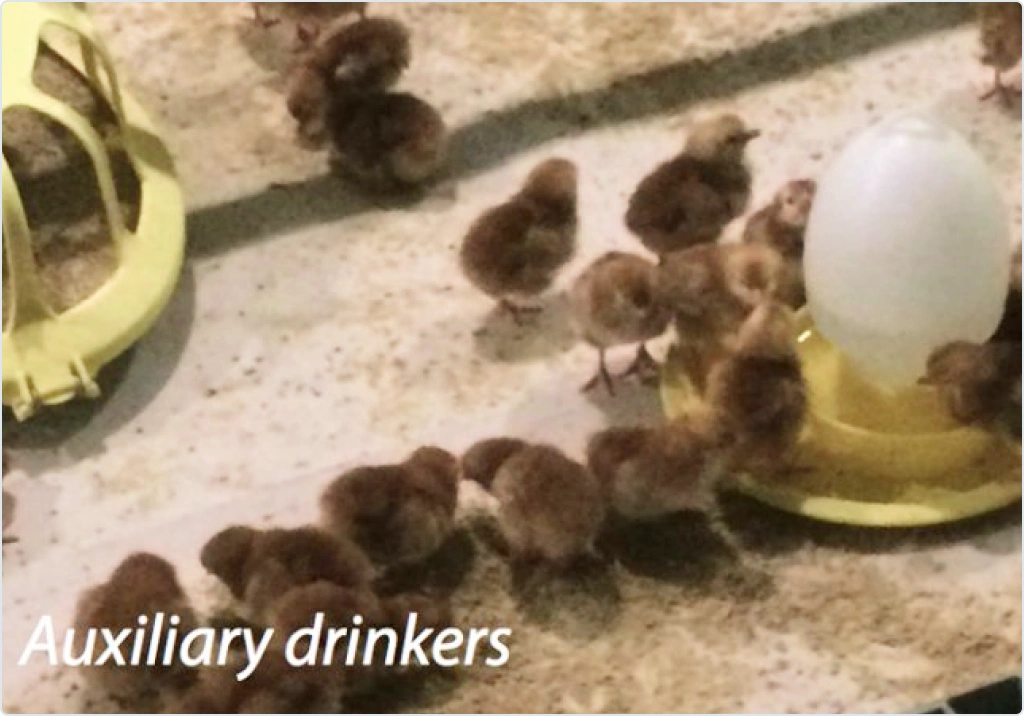
Set the height of the drinkers so the chicks can drink easily 360-activated nipples are preferable in rearing houses. If not available, and especially with infrared beak treated chicks, we recommend using cups or other extra drinking system at a ratio of 80 to 100 birds per extra drinker. Especially important having extra drinkers when brooding on floor. Reduce the water pressure in the drinking system to create a hanging drop at chick eye level. Follow manufacturer recommendations for flow rate. Trigger the nipples or cups during the first 3–4 days to encourage chicks to drink. Important to keep all the time the water temperature between 20 to 25˚C (68–77˚F).
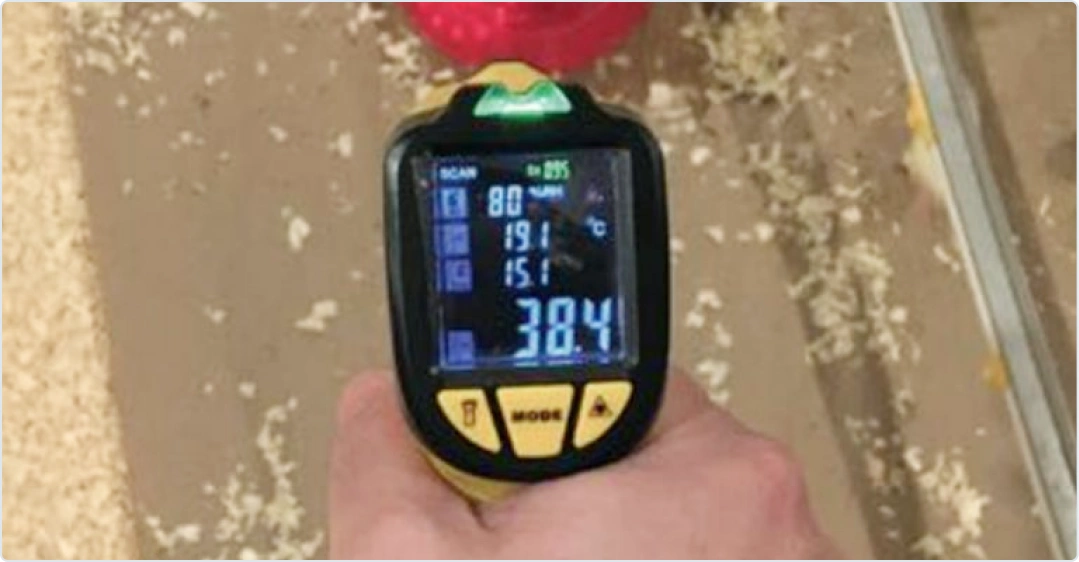
Always check the water temperature. In this case is too hot!
Feed
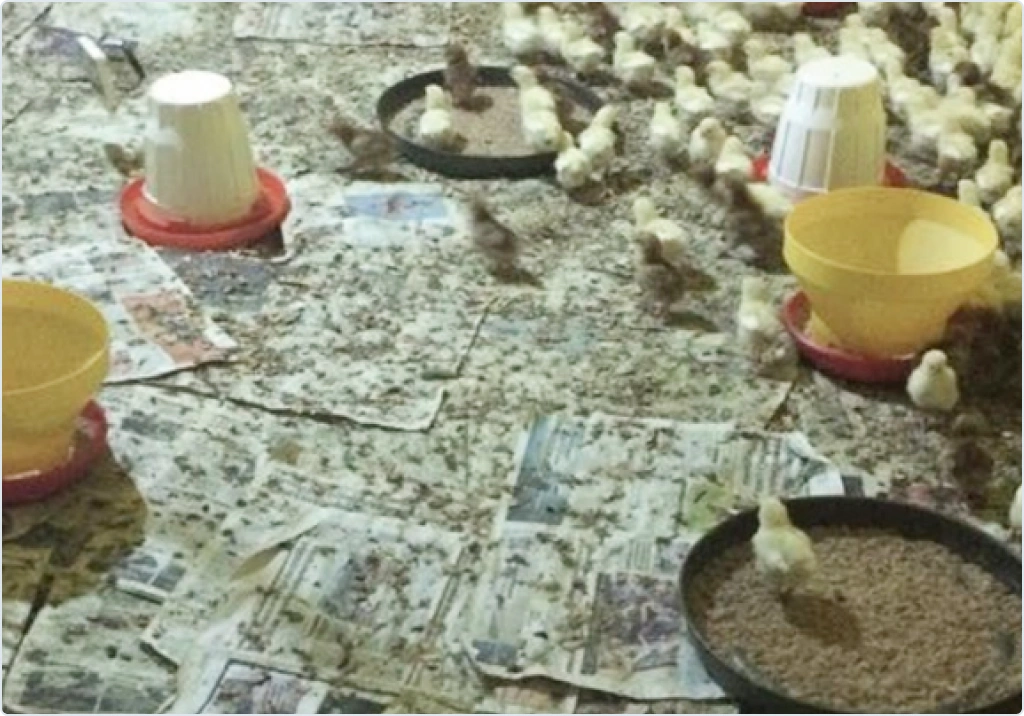
Good quality feed should be available for chicks immediately after placement. Feed should be scattered on the cage paper and renewed during the first 3–5 days. Place abundant feed in the feeders to attract the chicks.
Feed on paper
Feed on trays
Light
The light intensity should be between 40–60 lux during the first week. This should be measured at drinker level. Light should be spread uniformly throughout the entire cage or floor. It is important to avoid shady and dark areas in the brooding cage or floor area.
Good light intensity > 40 lux
Humidity
Humidity should be between 60 to 70 %. With lower than 40 % humidity, chicks may dehydrate, experiment stress or damage their respiratory tract. Effects of higher than 80 % humidity could be wet litter, increase ammonia and poor air quality. Adjust temperature according to relative humidity. For instance, the temperatures in this section are set for a humidity between 60–70 %. Above 80 % the comfortable temperature reduces by 1 °C (1.8 °F) and below 40 % increases by 1 °C (1.8 °F).
Ventilation
Supply enough volume of fresh air to remove dust and undesirable gases. Ensure adequate air movement even on cold days. Strong movements of air disturb the chicks, they will avoid using drafty areas. This can negatively impact on chick distribution and activity. Adequate ventilation is especially important in hot weather.
Draft incorrect
Draft
How do you know that everything is running smoothly?
Crop fill measurement
Crop fill measurement is a good tool to check if the chicks are eating in the first two days of life.
When is partial brooding, take 100 chicks randomly. Sample chicks distributed throughout the house for reliable readings. In case of spot brooding take 40 per circle. Cage and aviary Row systems brooding take a sample from the whole house (25 from the front, 50 from the middle and 25 from the back).
Gently feel the crop.
The crop should be full, soft and rounded in started chicks.
Check the result according to the time after placement.
If the result is below target, check the brooding conditions and take corrective measures.
Correct crop filling
Incorrect crop filling
% of chicks with feed in the crop
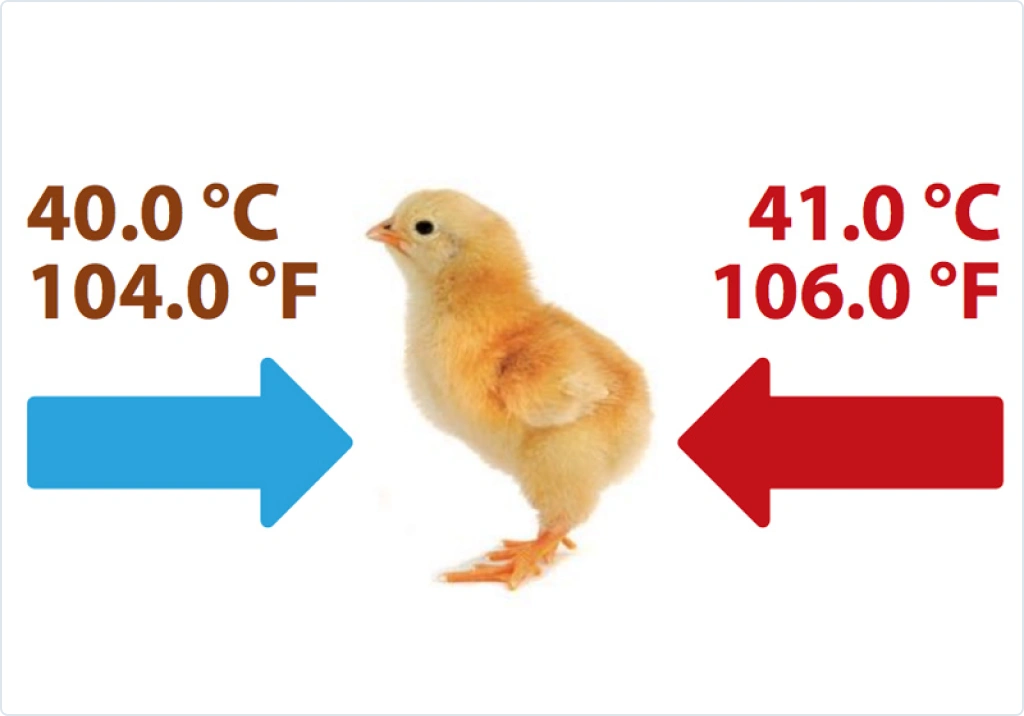
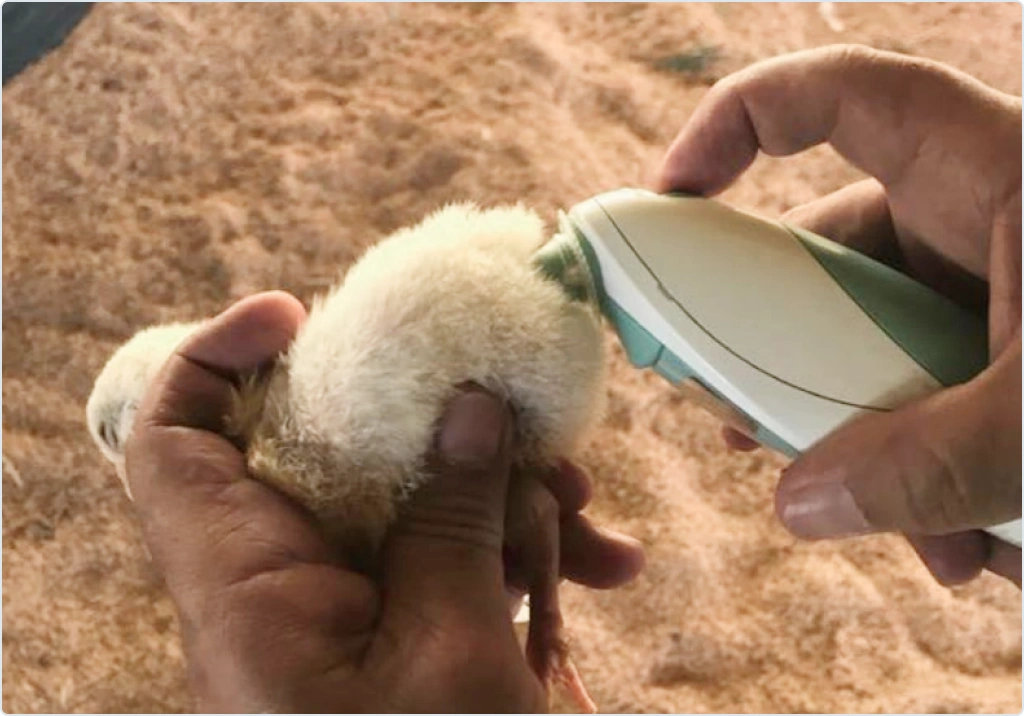
Cloacal temperature
Chick temperature is between 40–41 °C (104–106 after the moment of full homeothermy. During the first week of life chicks are unable to control their body temperature and it varies according to the ambient temperature. The cloacal temperature can be used to adjust house temperatures optimally.
Make sure you collect samples of chicks from different parts of the house. Samples chicks distributed throughout the house for reliable readings. Circle or spot brooding take temperature of 4–5 chicks per circle. In floor brooding a sample of 20 birds and cage brooding 50 (15 from the front, 20 from the middle and 15 from the back of the house).
Check their cloacal temperature.
Collect the information, calculate the average and adjust the house temperatures accordingly to achieve optimal chick temperatures. Adjust the environmental set point or temperature: + or – (0,5˚C) (1˚F) per 0,3˚C (0.5˚F) above the upper limit or below the lower limit of optimal vent temperature.
Important
A chick’s body temperature does not correlate with the current temperature but with the temperature of the last few hours.
Behavior
Pay attention to your chicks
Chicks cannot talk but they send you many signals:
Check their distribution
Check their activity
Check the water and feed intake
Check what kind of sound they are making
Check if they look happy!!!
Body weight
The body weight at the end of the first week must double the body weight at placement and uniformity must be > 80%. In case, these goals are not achieved, a review of managements (drinking or feeding management, temperature, etc) and nutrition must be performed.
7-day mortality
The 7-day mortality must be below 3 %. If it is above this %, a complete review of managements must be done. It is important to have an excellent feed-back with the logistic and technical H&N team: good and bad things. Always perform necropsies of the mortality at arrival and in the first 7 days after placement.
A good brooding period is key for developing the gut, immune system and the skeleton. This period is therefore crucial to improve flock liveability during the first weeks, and to obtain good quality and productive pullets.