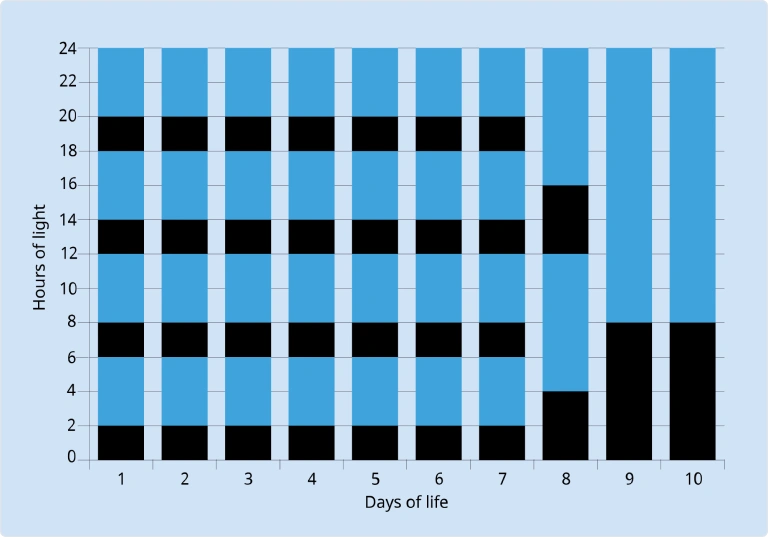
This program can be used for up to 7 – 10 days after arrival. Then switch back to the regular step-down lighting program. Using this lighting program has the following advantages:
Chick behaviour is synchronized; they rest or sleep at the same time.
Weak chicks will be stimulated by stronger ones to move as well as to eat and drink.
The behaviour of the flock is more uniform and evaluating the flock is much easier.
Chick mortality will decrease.
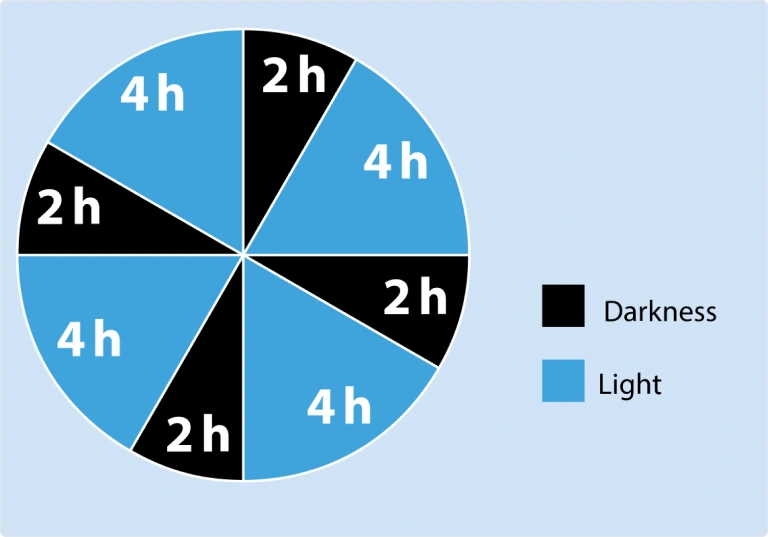
Intermittent lighting program
Non-intermittent lighting program
All houses
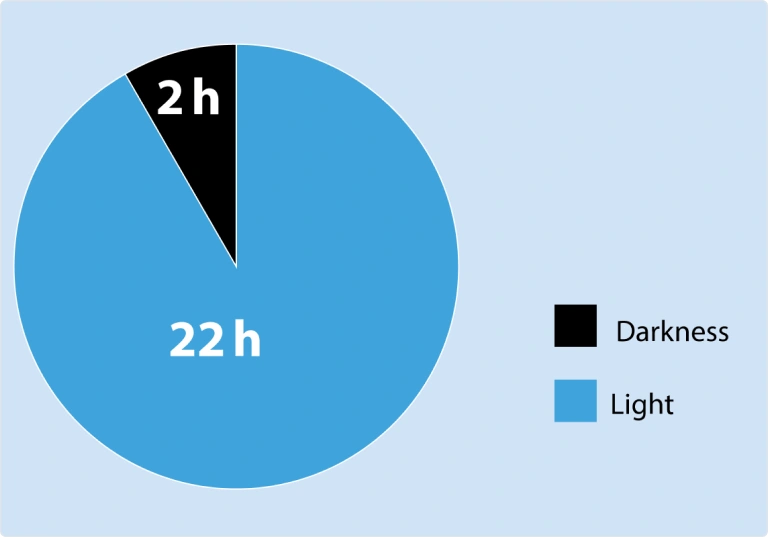
In open houses it is not easy to implement the intermittent lighting program. If this cannot be applied, 22 – 24 hours of light during the first 2 – 3 days is common practice. Providing a dark period during the day to allow the chicks to rest is highly recommended.
In a dark house the light level should be lower than 3 lux when the light-proof system is set. In other words, it must be completely dark.
Non-intermittent lighting program
What do chicks need during the first week?
Temperature
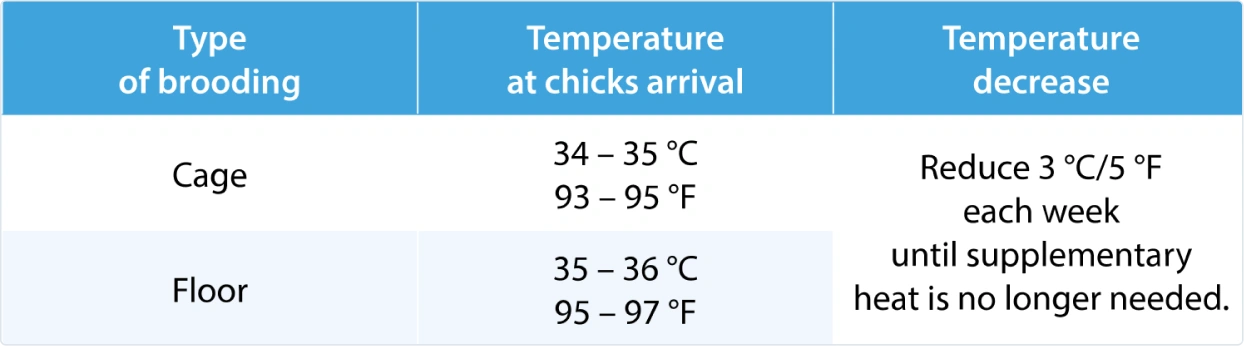
The temperature should be between 34 – 36 °C for the first few days.
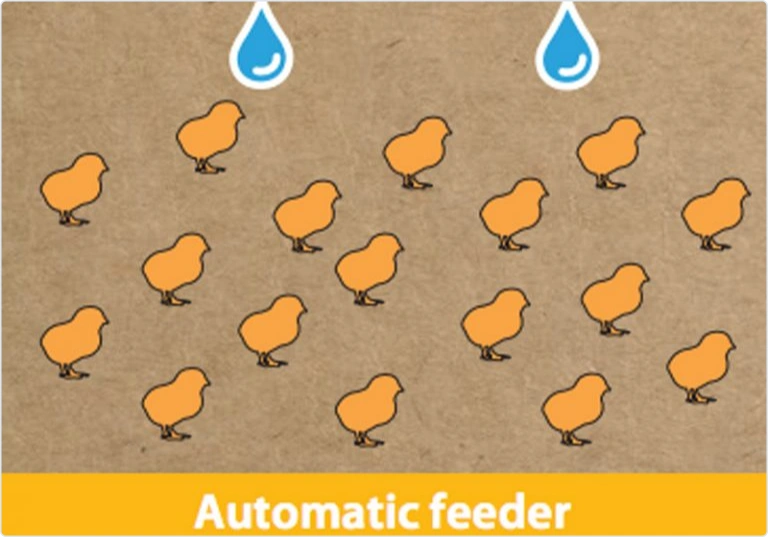
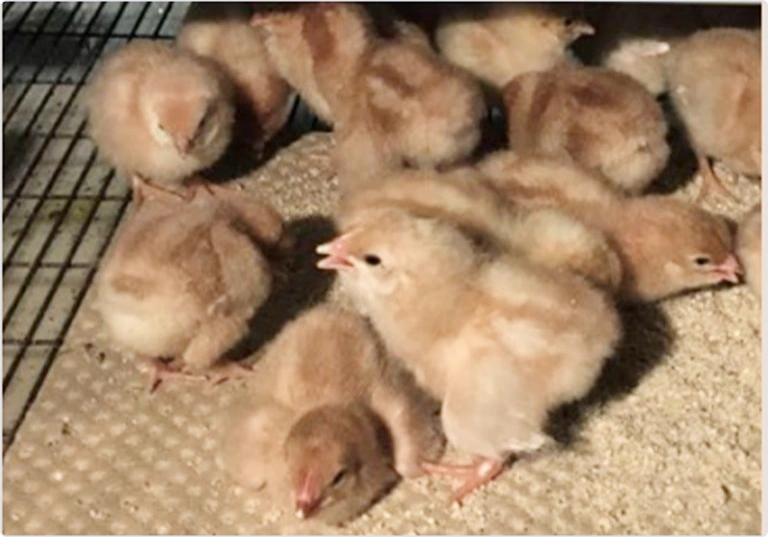
Correct temperature: Chicks will be well distributed and active.
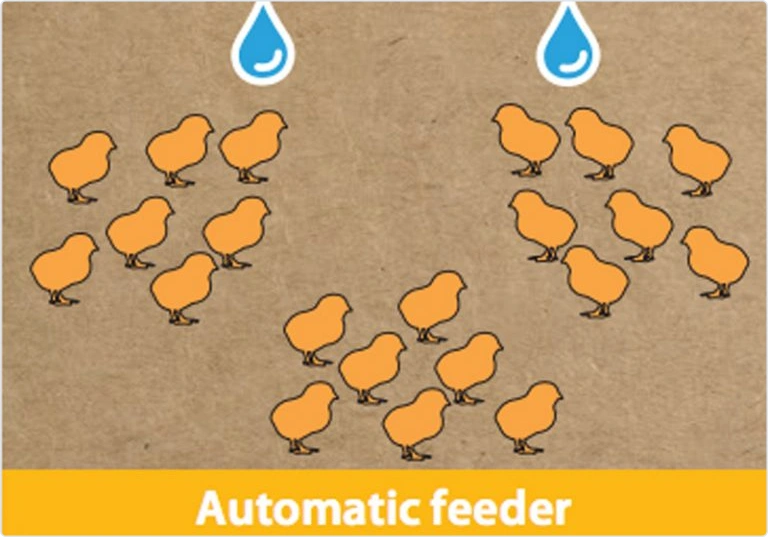
Low temperature: Chicks will group together and sound stressed.
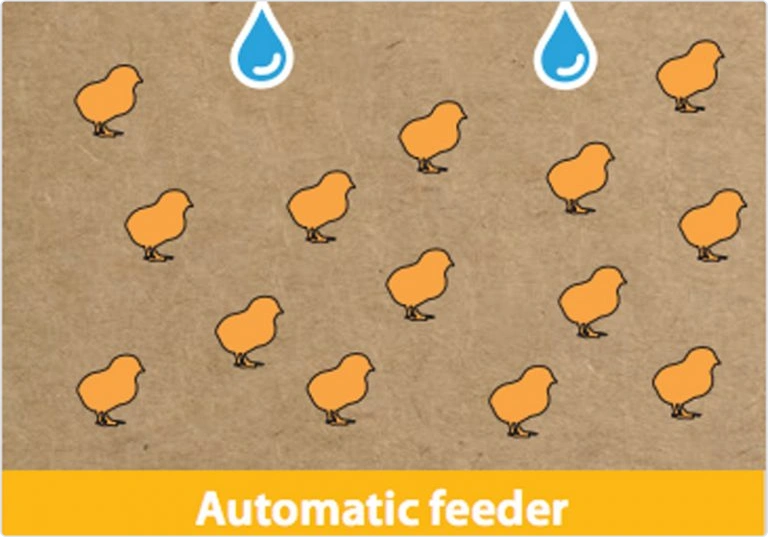
High temperature: Chicks will group in the coldest places, are inactive and pant.
Pasted vents may indicate a too high or too low temperature.
After two or three days, decrease the temperature by 0.5 °C every day.
Be aware that the best indicator is chick behaviour.
Check the flock every time you change your settings.
If the house temperature is not uniform, take corrective measures by changing heaters and ventilation parameters.
Table 3. Temperature recommendation
Correct temperature distribution
Low temperature distribution
Hot temperature distribution
Humidity
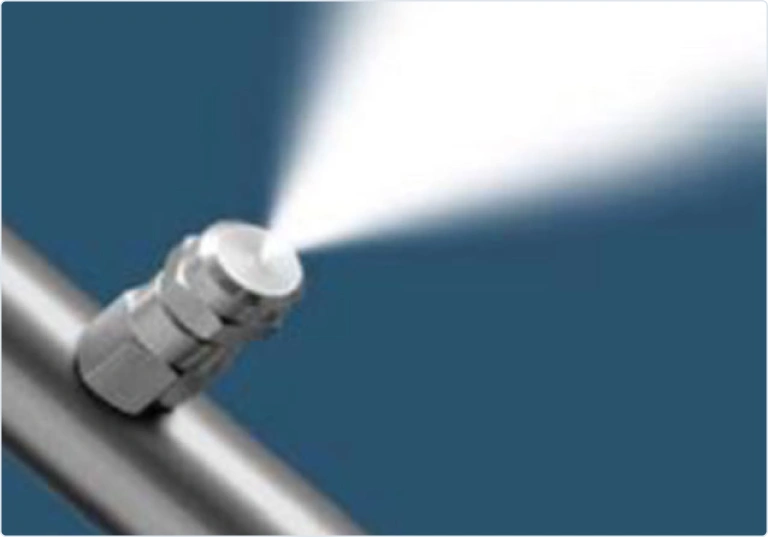
Humidity should be at least 60%. With lower humidity, chicks may dehydrate or damage their respiratory tract. Be aware that temperature and humidity are related. The temperatures in this guide are set for a humidity between 60 – 70%.
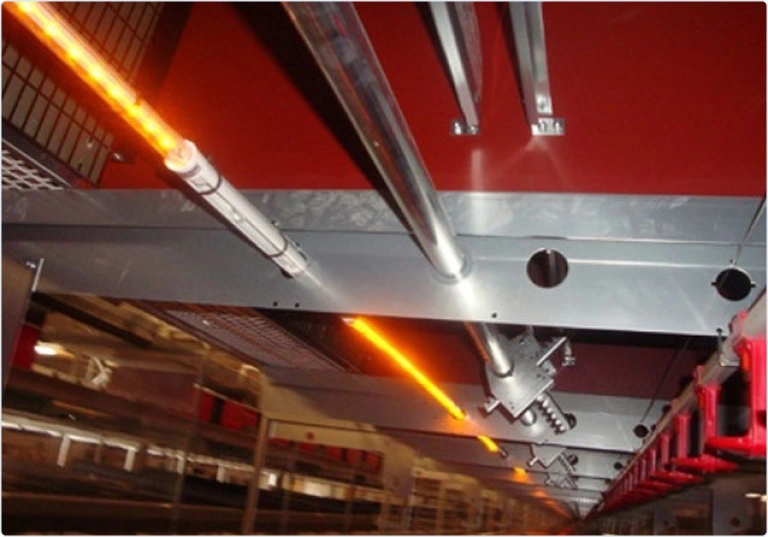
Light
The light intensity should be between 30 – 50 lux during the first week. This should be measured at drinker level. Light should be spread uniformly throughout the entire cage. It is important to avoid shady and dark areas in the brooding cage.
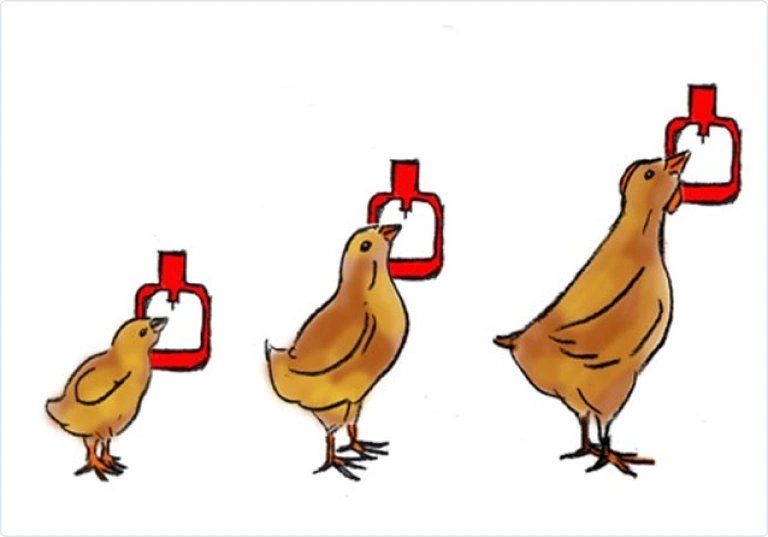
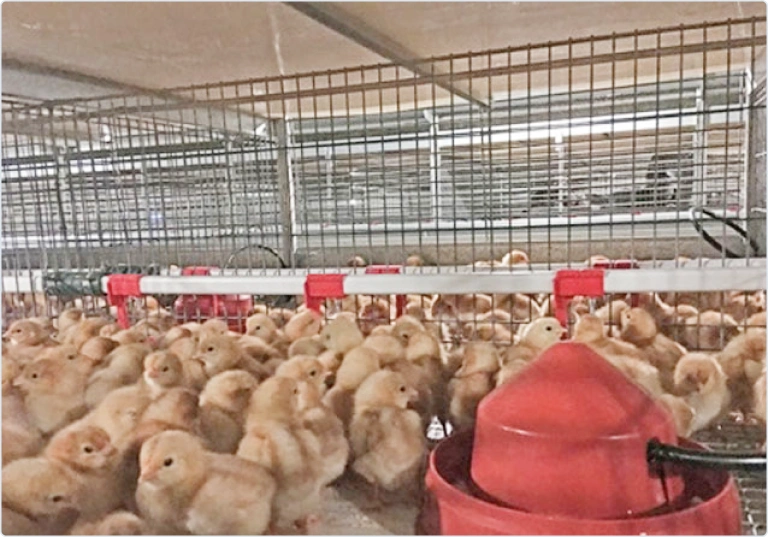
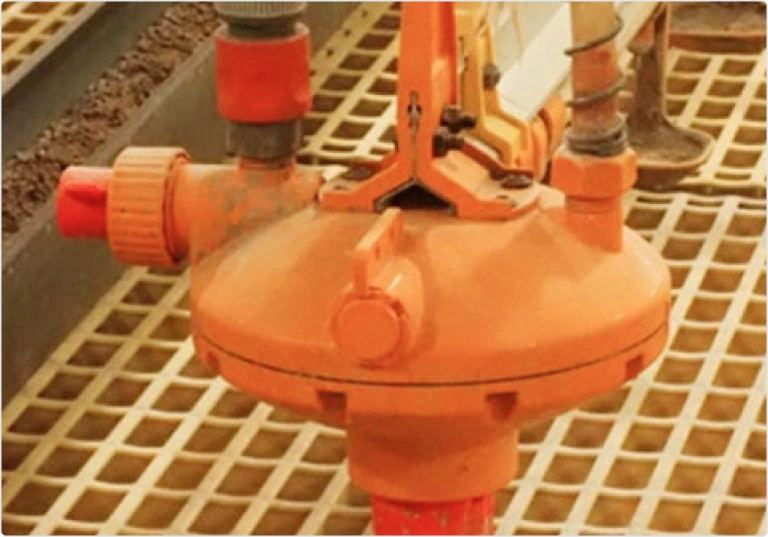
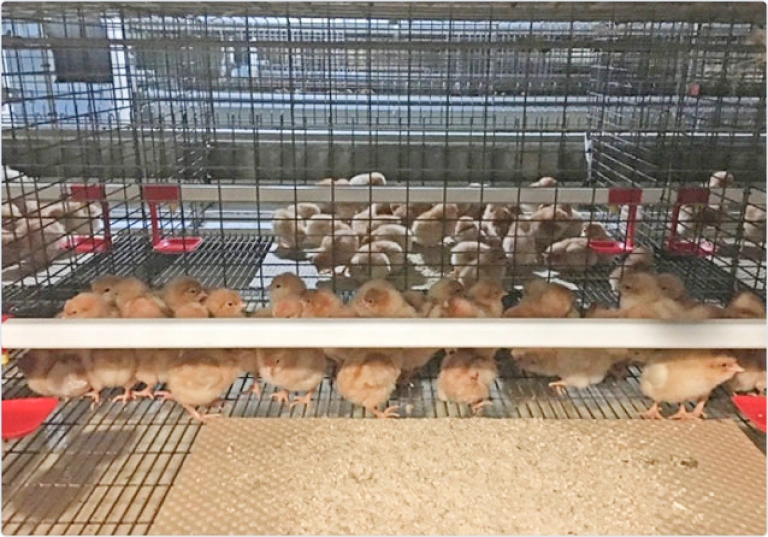
Water
Set the height of the drinkers so the chicks can drink easily. 360-activated nipples are preferable in rearing houses. If not available, and especially with infrared beak treated chicks, we recommend using cups or other extra drinking systems during the first 5 – 7 days. Reduce the water pressure in the drinking system to create a hanging drop at chick eye level. Trigger the nipples or cups during the first 3 – 4 days to encourage chicks to drink. Flush the lines just before housing the chicks and daily for the first 4 days. Chicks will refuse hot water (>25 °C).
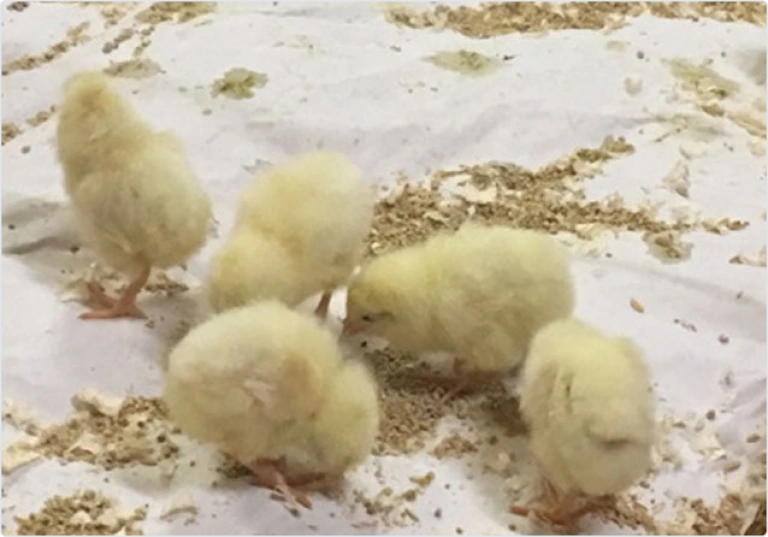
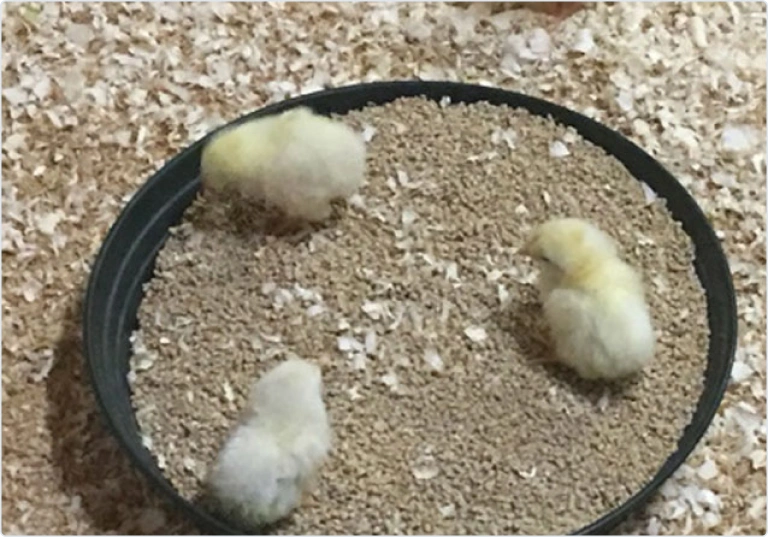
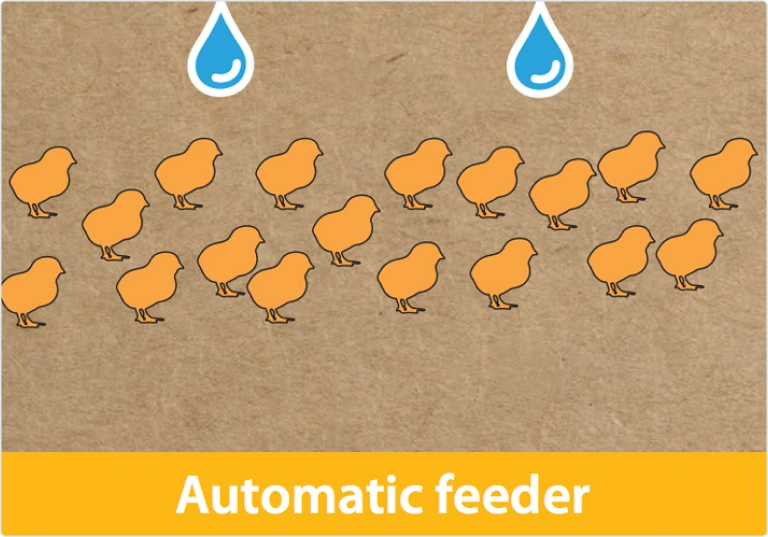
Feed
Good quality feed should be available for chicks immediately after placement. Correct feed structure is also extremely important. Feed should be scattered on the cage paper and renewed during the first 3 – 5 days. Place abundant feed in the feeders to attract the chicks.
Ventilation
Supply sufficient volumes of fresh air to remove dust and undesirable gases. Ensure sufficient air movement even on cool days. Strong movements of air disturb the chicks, they will avoid using draughty areas. This can negatively impact on chick distribution and activity. Adequate ventilation is especially important in hot weather.
Draft incorrect
A good brooding period is key to developing the gut, immune system and the skeleton. This period is therefore crucial to improve flock liveability during the first weeks, and to obtain good quality and productive pullets.
How do you know that everything is running smoothly?
Pay attention to your chicks
Crop fill measurement
Crop fill measurement is a good tool to check if the chicks are eating in the first two days of life.
Sample around 50 – 60 chicks. Take them randomly from around the house to ensure a reliable overview.
Gently feel the crop.
The crop should be full, soft and rounded in started chicks.
Check the result according to the time after placement.
If the result is below target, check the brooding conditions and take corrective measures.
Correct crop filling
Incorrect crop filling
% of chicks with feed in the crop
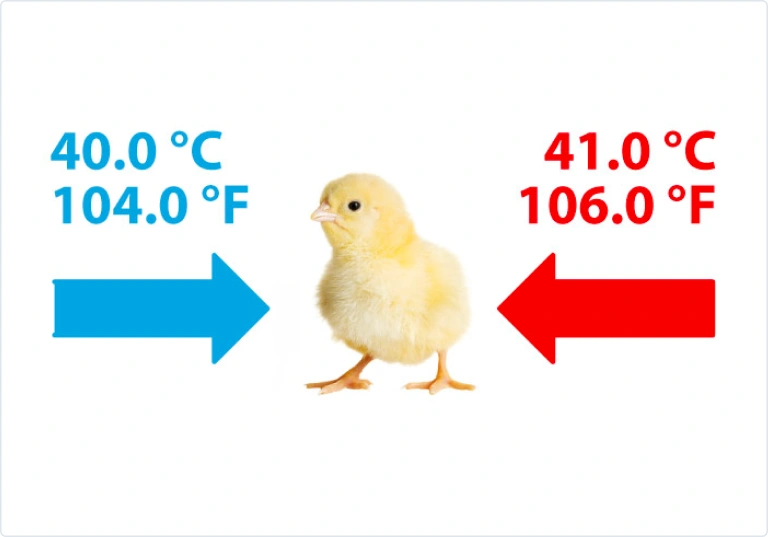
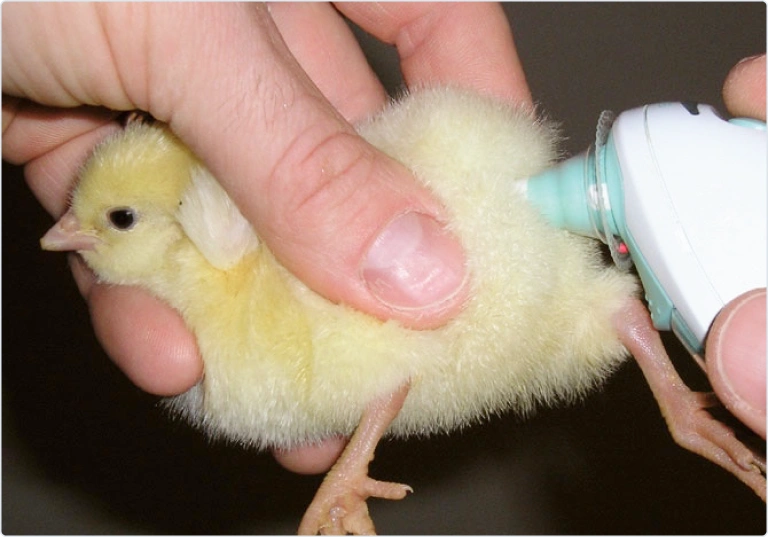
Cloacal temperature
Chick temperature is between 40 – 41 °C after the moment of full homeothermy. During the first week of life chicks are unable to control their body temperature and it varies according to the ambient temperature. This information can be used to adjust house temperatures optimally. Use modern ear thermometers (see picture).
Make sure you collect samples of chicks from different parts of the house. Sample chicks distributed throughout the house for reliable readings.
Check their cloacal temperature.
Collect the information, calculate the average and adjust the house temperatures accordingly to achieve optimal chick temperatures.
Important
A chick’s body temperature does not correlate with the current temperature but with the temperature of the last few hours.
Beak Treatment
Beak treatment is an important cannibalism/pecking prevention measure in poultry management, especially in open houses with high light intensity. While various methods of beak treatment may be used, the objective is to treat the beak in a uniform manner that will permanently retard future beak growth. Improper beak treatment procedures may result in permanent damage to overall flock performance.
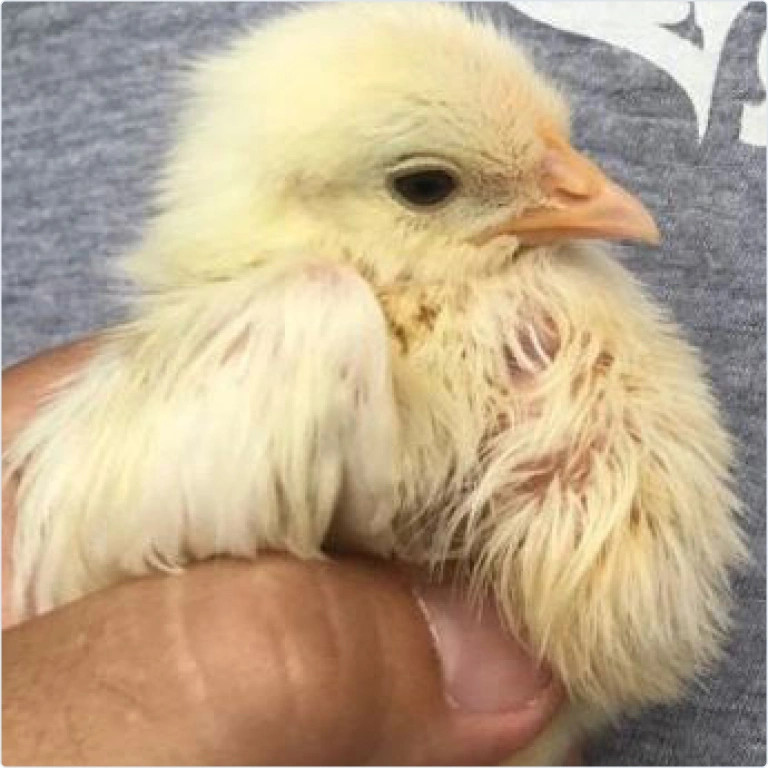
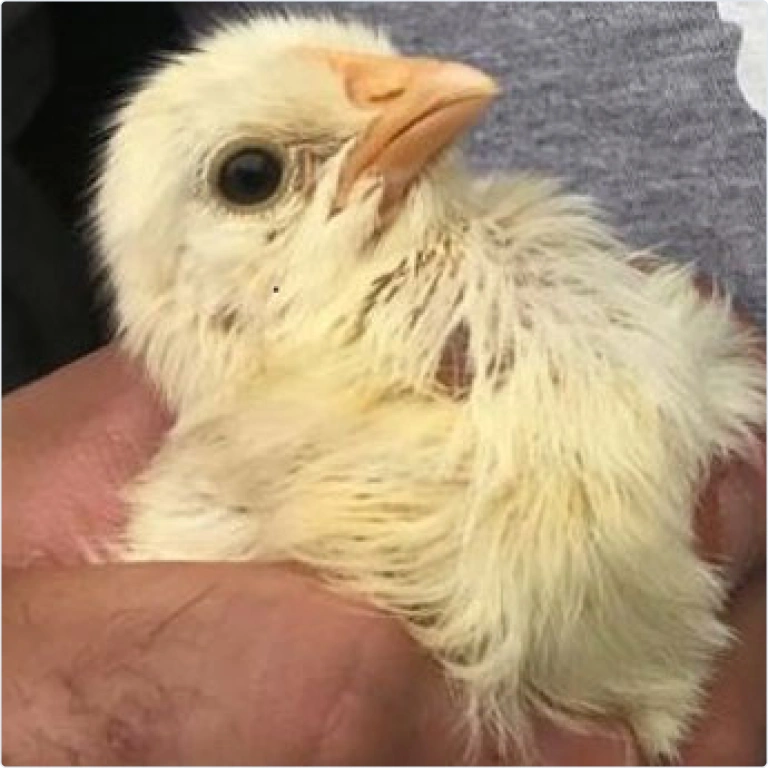
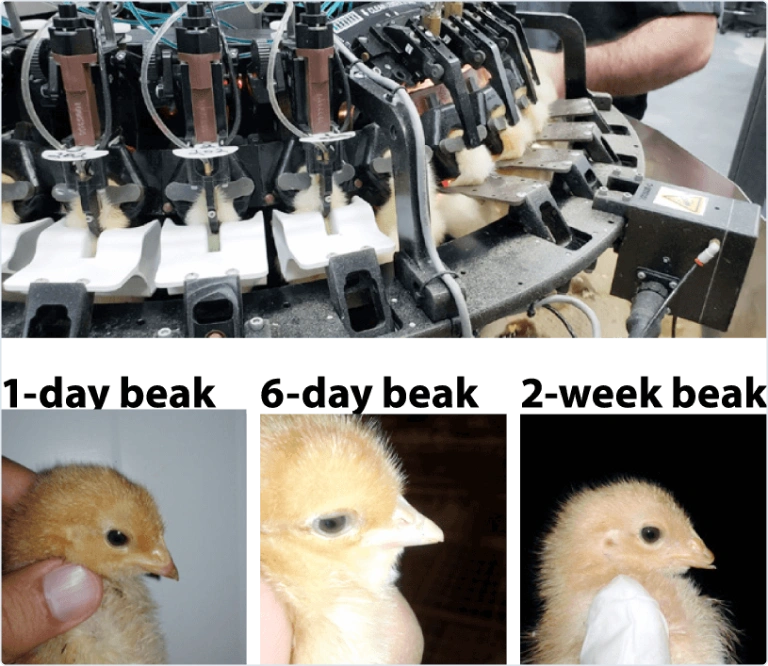
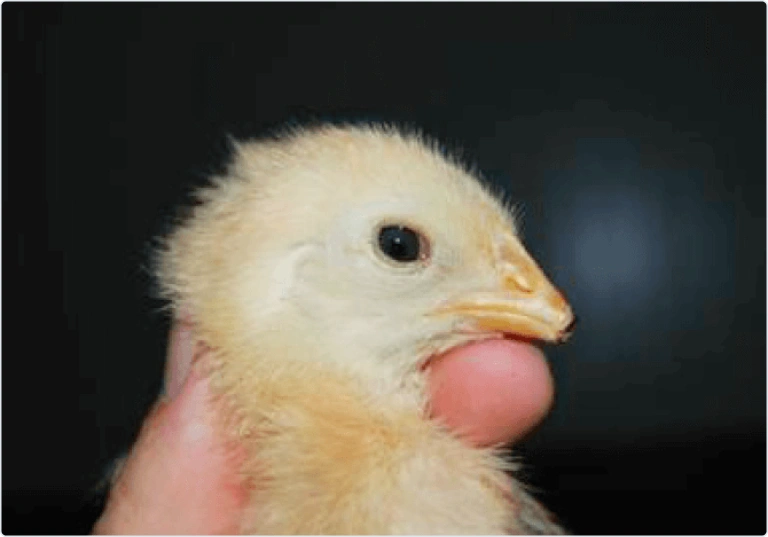
Infrared beak treatment of day-old chicks
The beaks of day-old chicks can already be treated at the hatchery using infrared technology. This method can provide more uniform beak treatment because it is performed by a machine and not by different crews. The beak remains intact until 10 – 21 days and then the treated portion separates. Because of this process, chicks will need extra care during the brooding period. Pay attention to:
Drinking water: It is vital to encourage the water intake in the first days. Preferably use 360-activated nipples as they are easy for chicks to use. Additional cup drinkers are also preferable. If bi-directional nipples are the only option, providing additional cup drinkers is obligatory.
Light: Ensure the light level in the drinker area is 30 – 50 lux.
Feed: Scatter feed on paper until day 7.
7-10 day beak treatment
The conventional method of beak treatment is to treat the beaks with a hot blade. Beak treatment should ideally be performed in the first 7 – 10 days. It is a delicate and precise manual procedure. Ensure these conditions are fulfilled before starting the process:
Healthy birds: If birds are sick or in poor condition, treatment should be delayed until the flock has recovered. Beak treatment in an unhealthy flock can severely damage its viability.
Trained crew: Due to the delicate and precise nature of this procedure, proper crew training is of the utmost importance. Only allow well-trained crews to perform this procedure. Never hurry the crew especially if they are inexperienced.
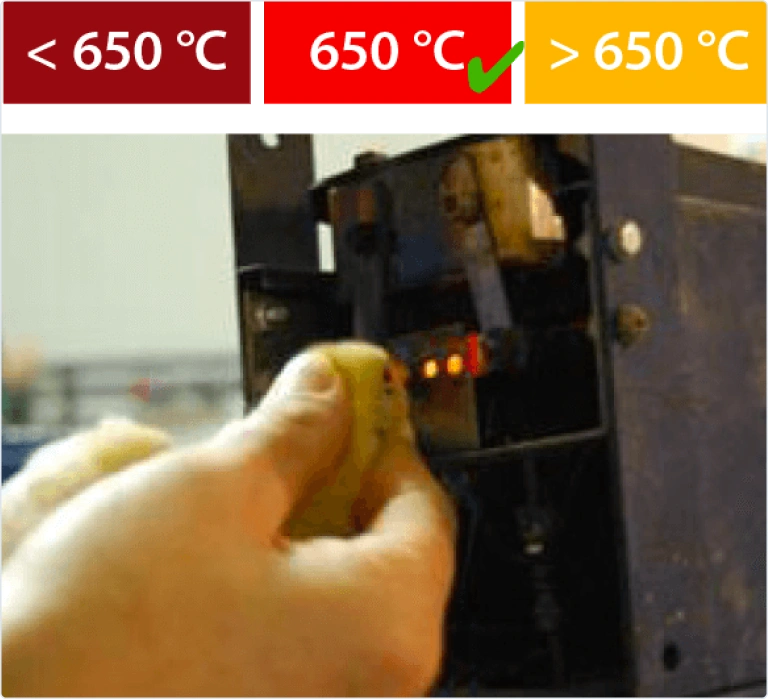
Adapted equipment: Hot blade machines are available on the market. For correct beak treatment, the blade temperature should be approximately 650 °C. The blade color may be used as an indicator. The use of a template with guide hole is recommended to make treatment easier and more uniform. Keeping the machine clean and in good maintenance is vital for good results.
And the days after beak treatment...
Special care should be provided to the chicks in the days following beak treatment:
Monitor water intake. It will be reduced for 2 or 3 days but then the previous intake should be recovered. Reducing the water pressure in the nipple drinker lines could be useful.
Use additional drinkers if necessary.
Increase the house temperature until the chicks seem comfortable.
Increase the feed level in the feeders.
Add Vitamin K to the diet or drinking water a few days before and after beak treatment.