Cleaning and disinfection procedure
Preparation
Dry cleaning
Wet cleaning
Disinfection
This kills all remaining pathogens that survived the previous steps. For good performance:
- Use only reliable and effective disinfectants
- Apply the appropriate dose
- Respect contact time and temperature
- Take extra care to clean litter area in floor/aviary systems to prevent coccidiosis/worms.
- In new litter, apply a product to kill mold.
Fumigation
- Fumigate after liquid disinfection has been completed and the equipment has been installed again.
- Follow the label instructions.
- Use appropiate PPE (personal protective equipment).
Sampling
Sample after cleaning and disinfection, check if the microbiological results are ok. Corresponding sampling and laboratory analysis should be performed: at least eight samples per house should be taken, distributed randomly as shown in table 1. If results are unacceptable, take corrective measures.
Cleaning and disinfection procedures
Clean and disinfection microbiological results
Important
- Do not proceed to the next step until the previous step has been completed.
- Clean the area outside the house, storage and service areas, water lines and ventilation system.
- Provide staff with adequate protection and clothing: masks, gloves, etc.
- Maintain the cleaning equipment regularly.
Stocking density
Stocking density in rearing farms
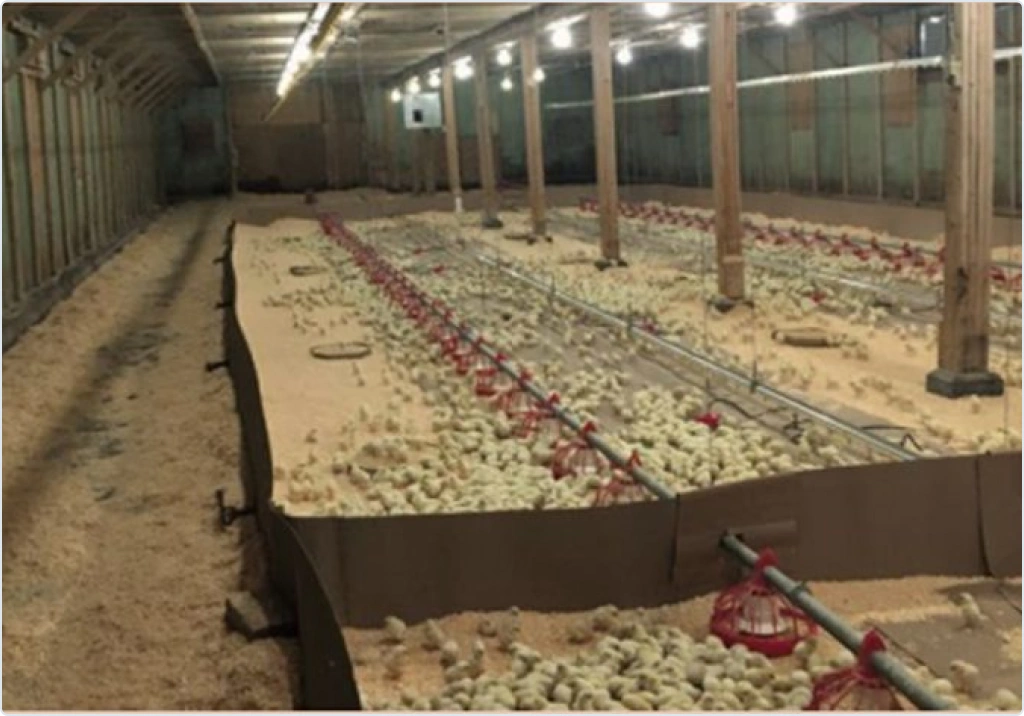
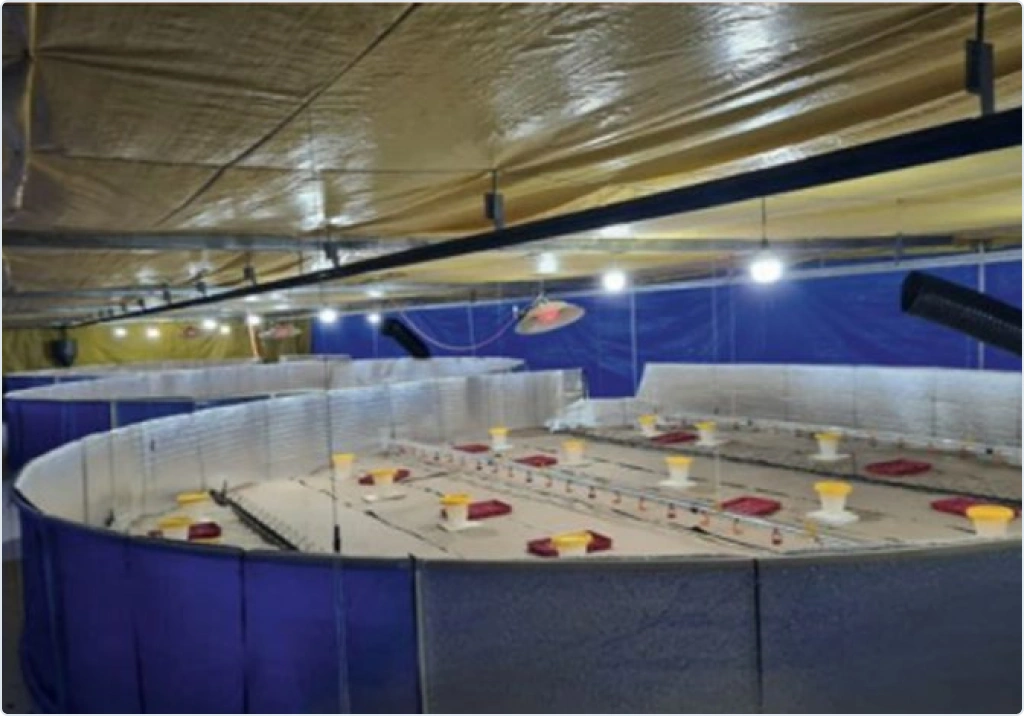
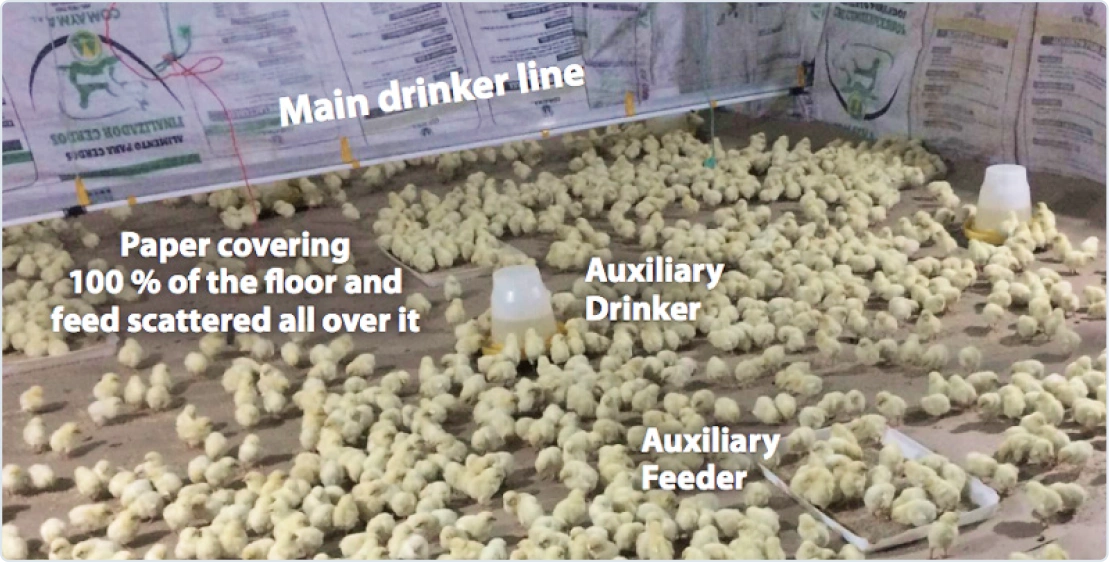
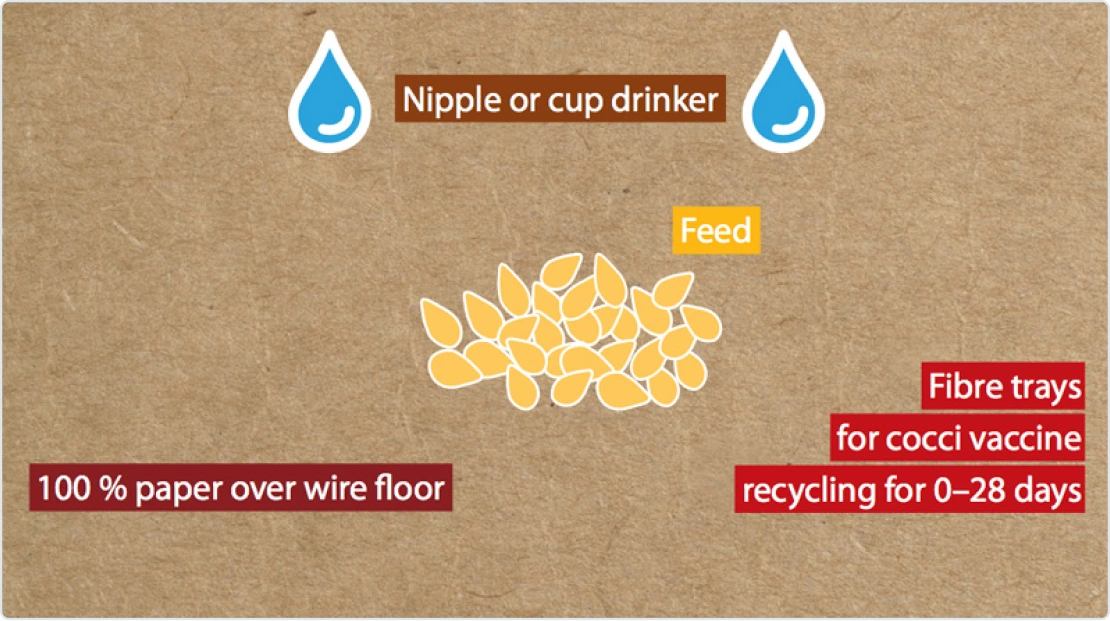
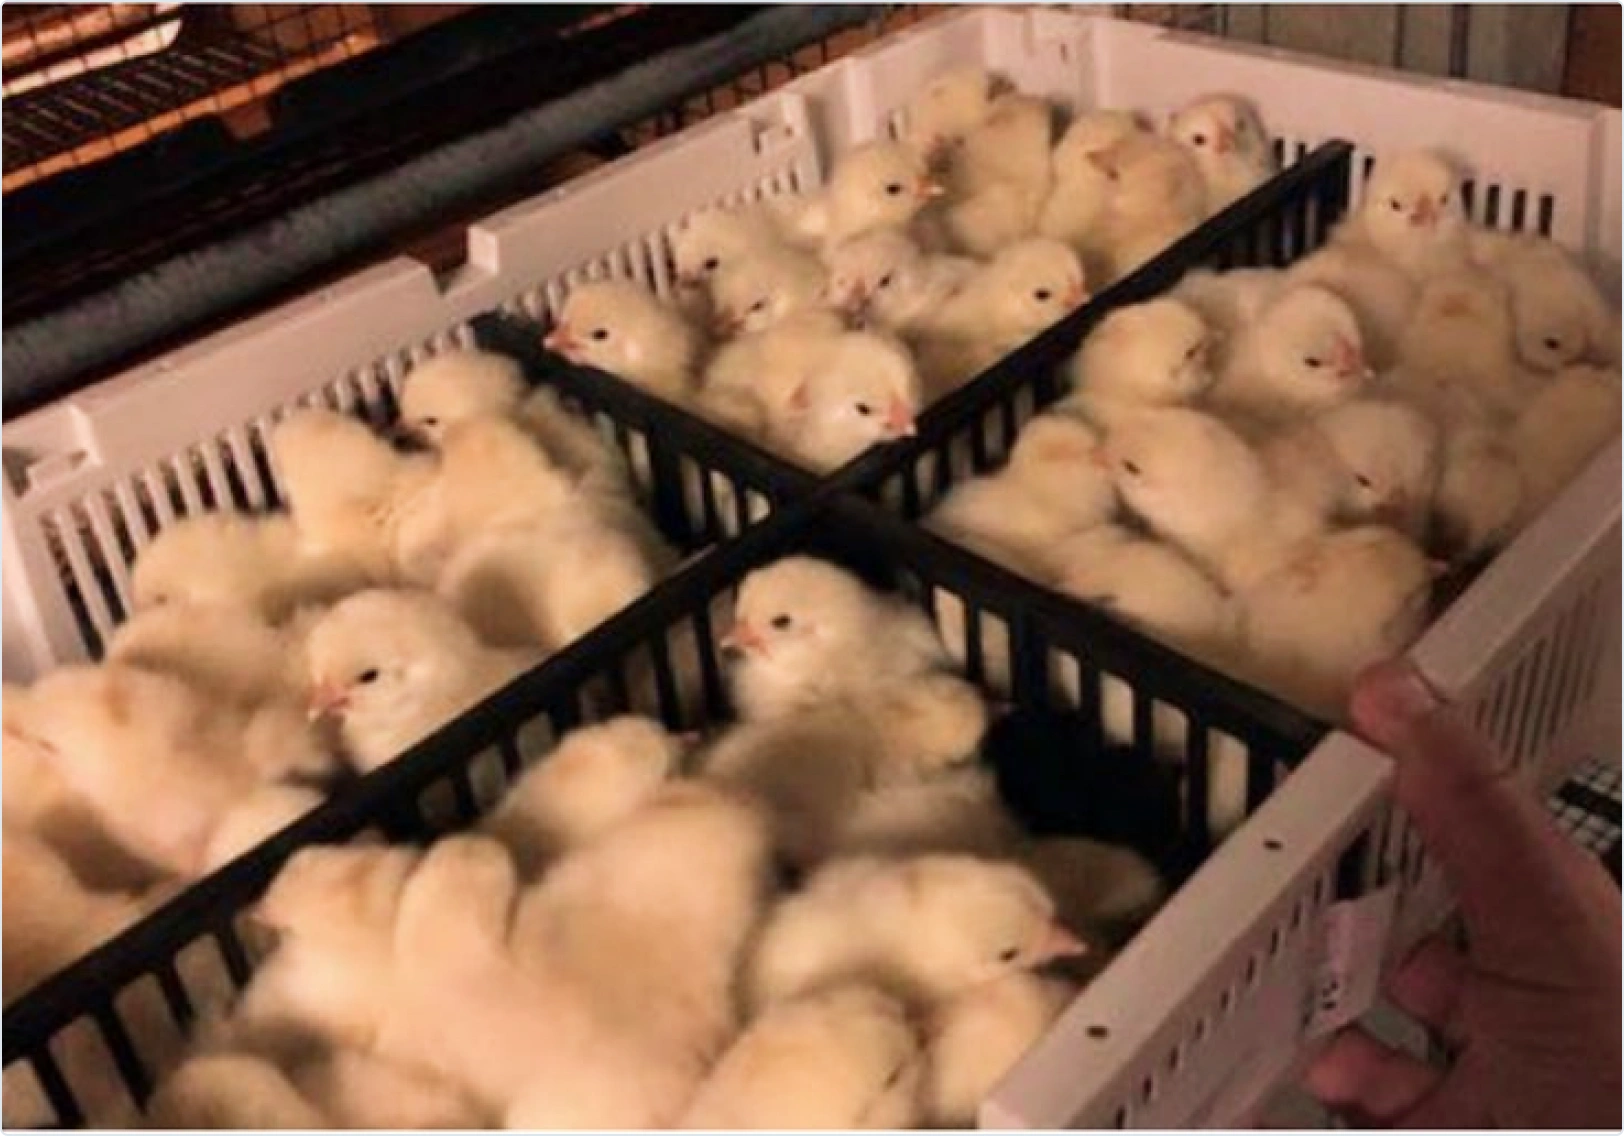
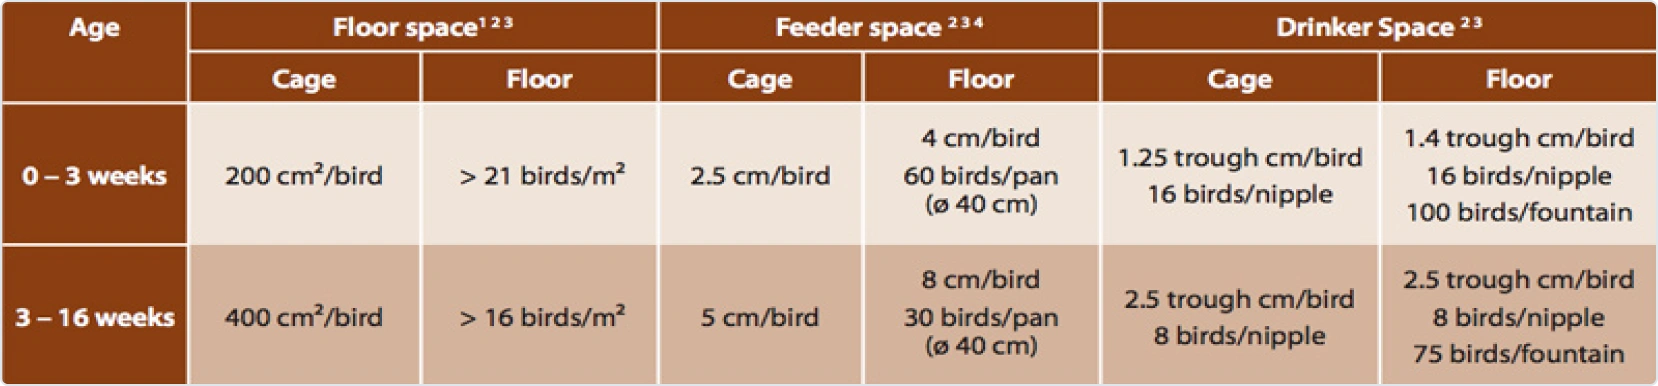
1 Floor space: include all living space: litter area and extra levels (slats or tiers).
2 Spaces can be different in each country due to regulations from government, animal welfare organizations and retailers.
3 All these values are the minimal recommendation. Provide more space in hot climate areas.
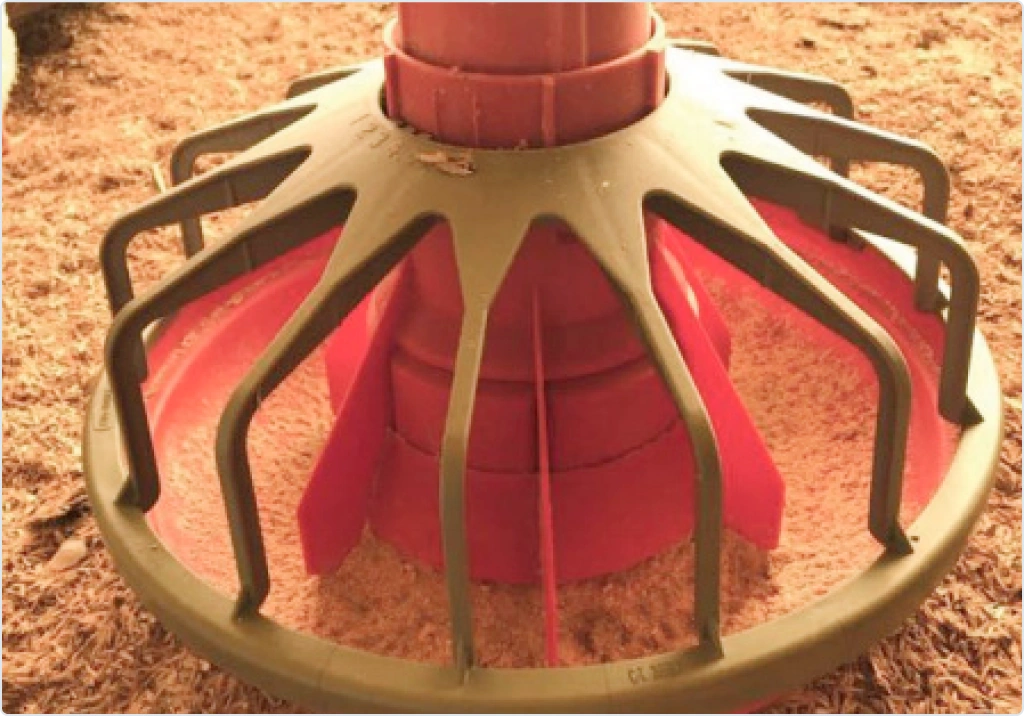
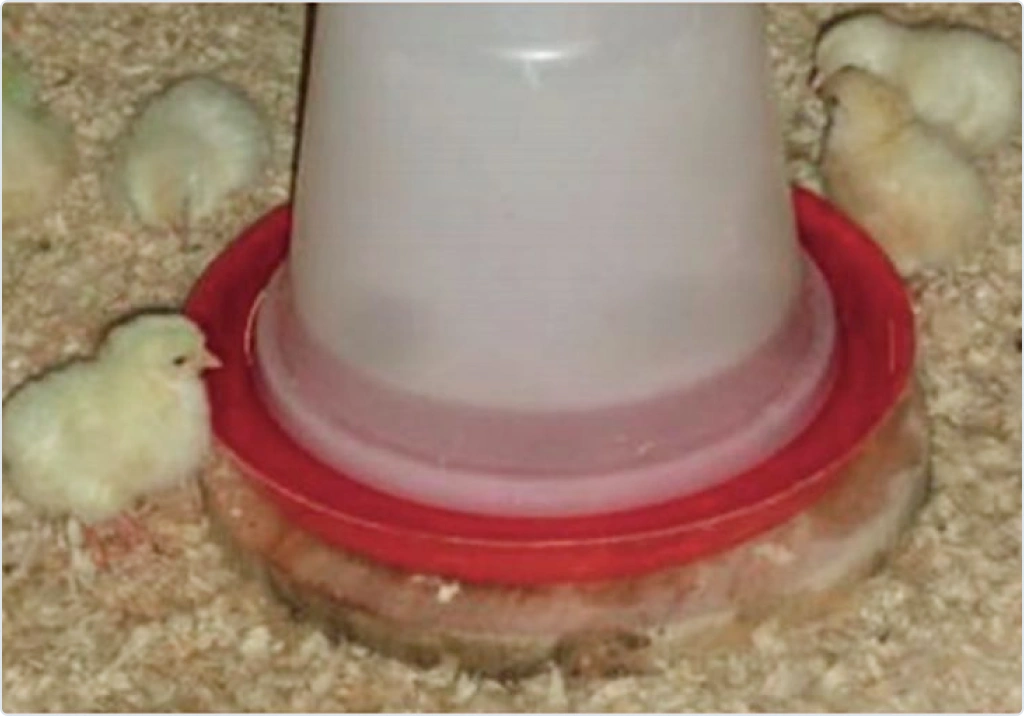
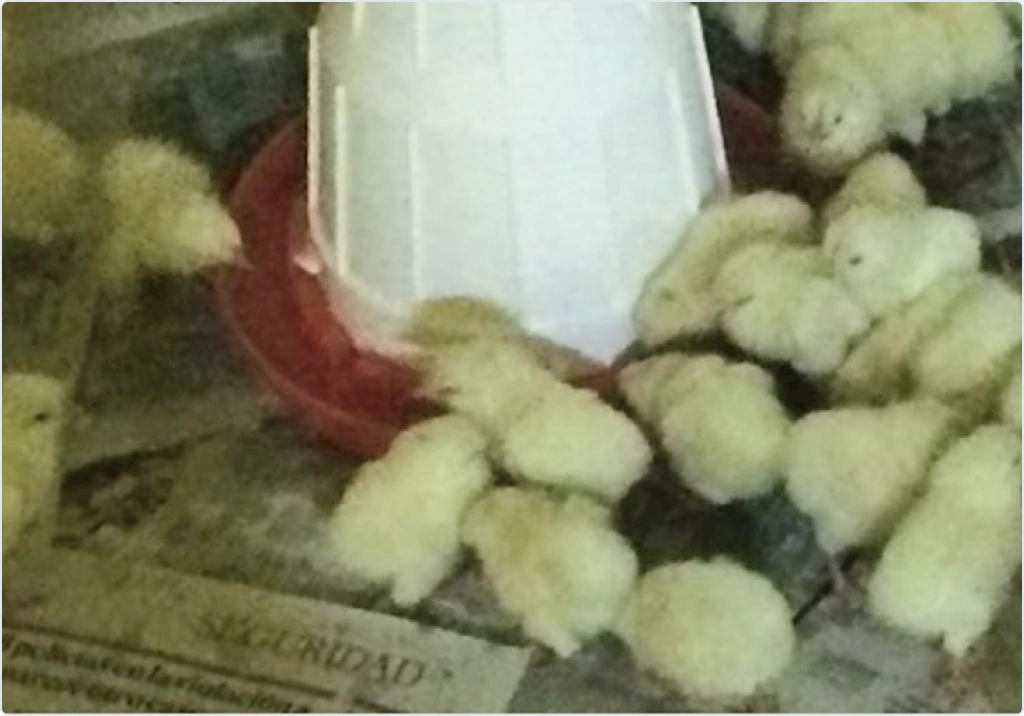
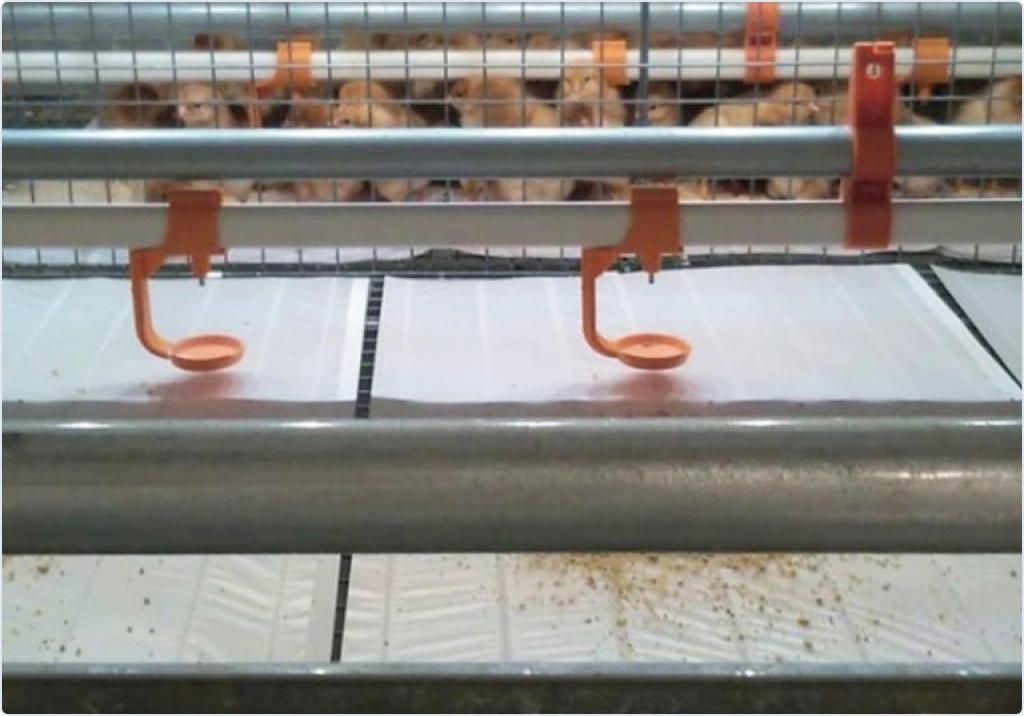
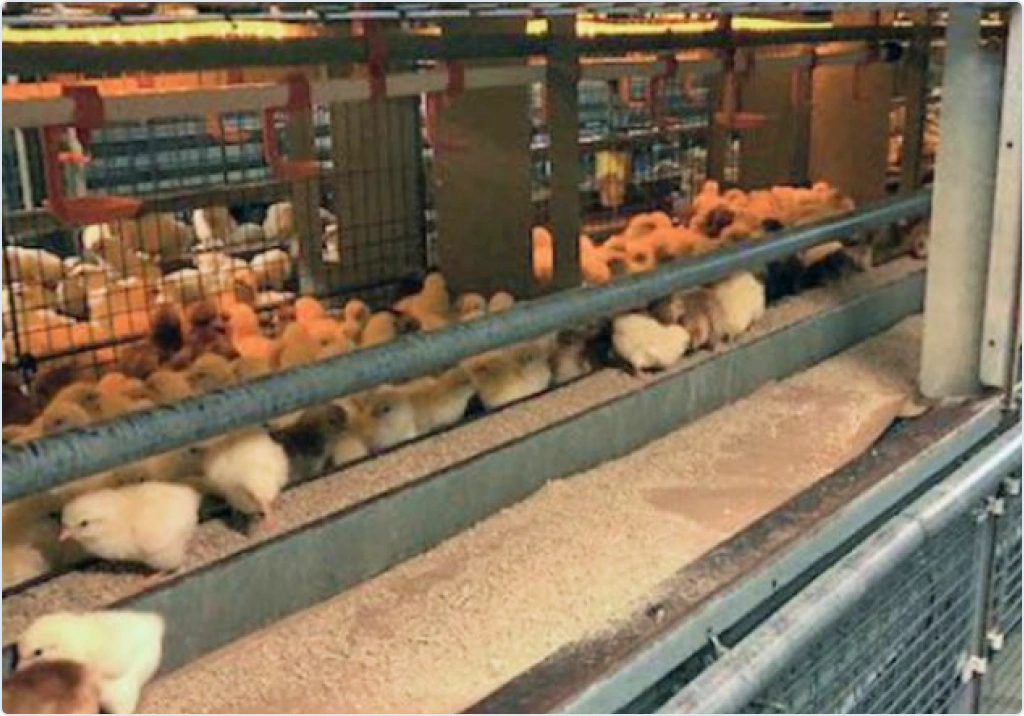
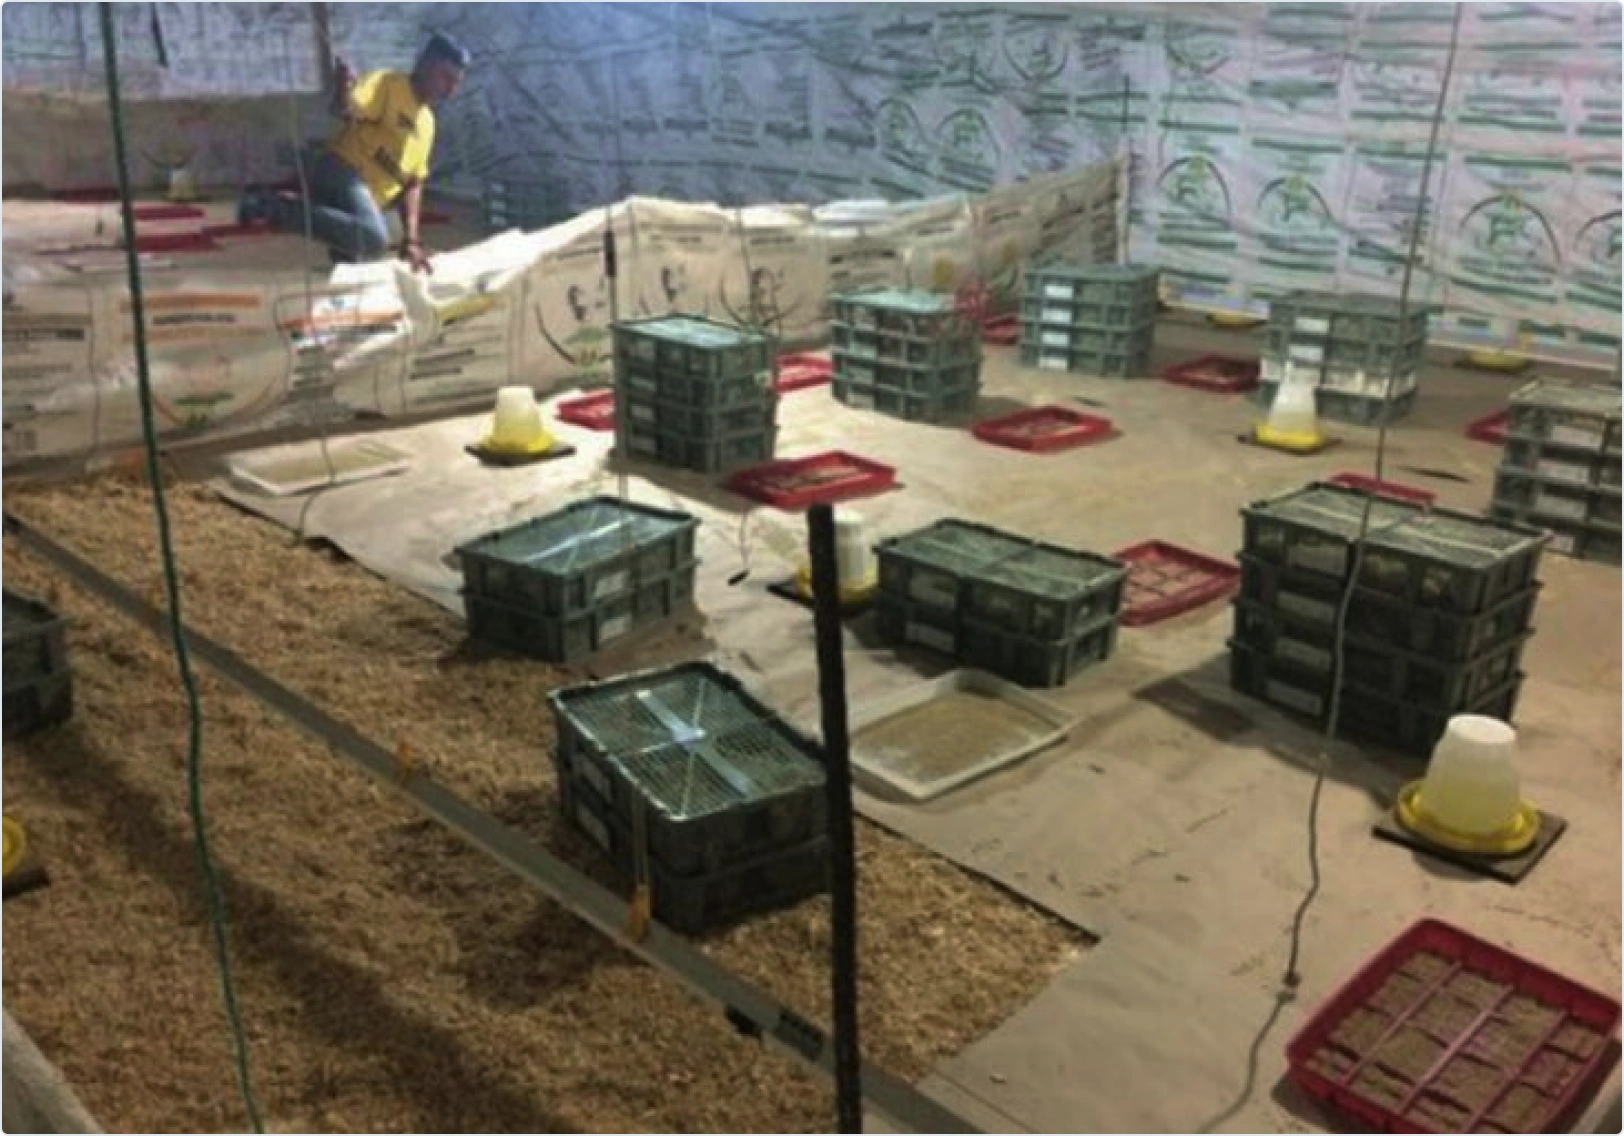
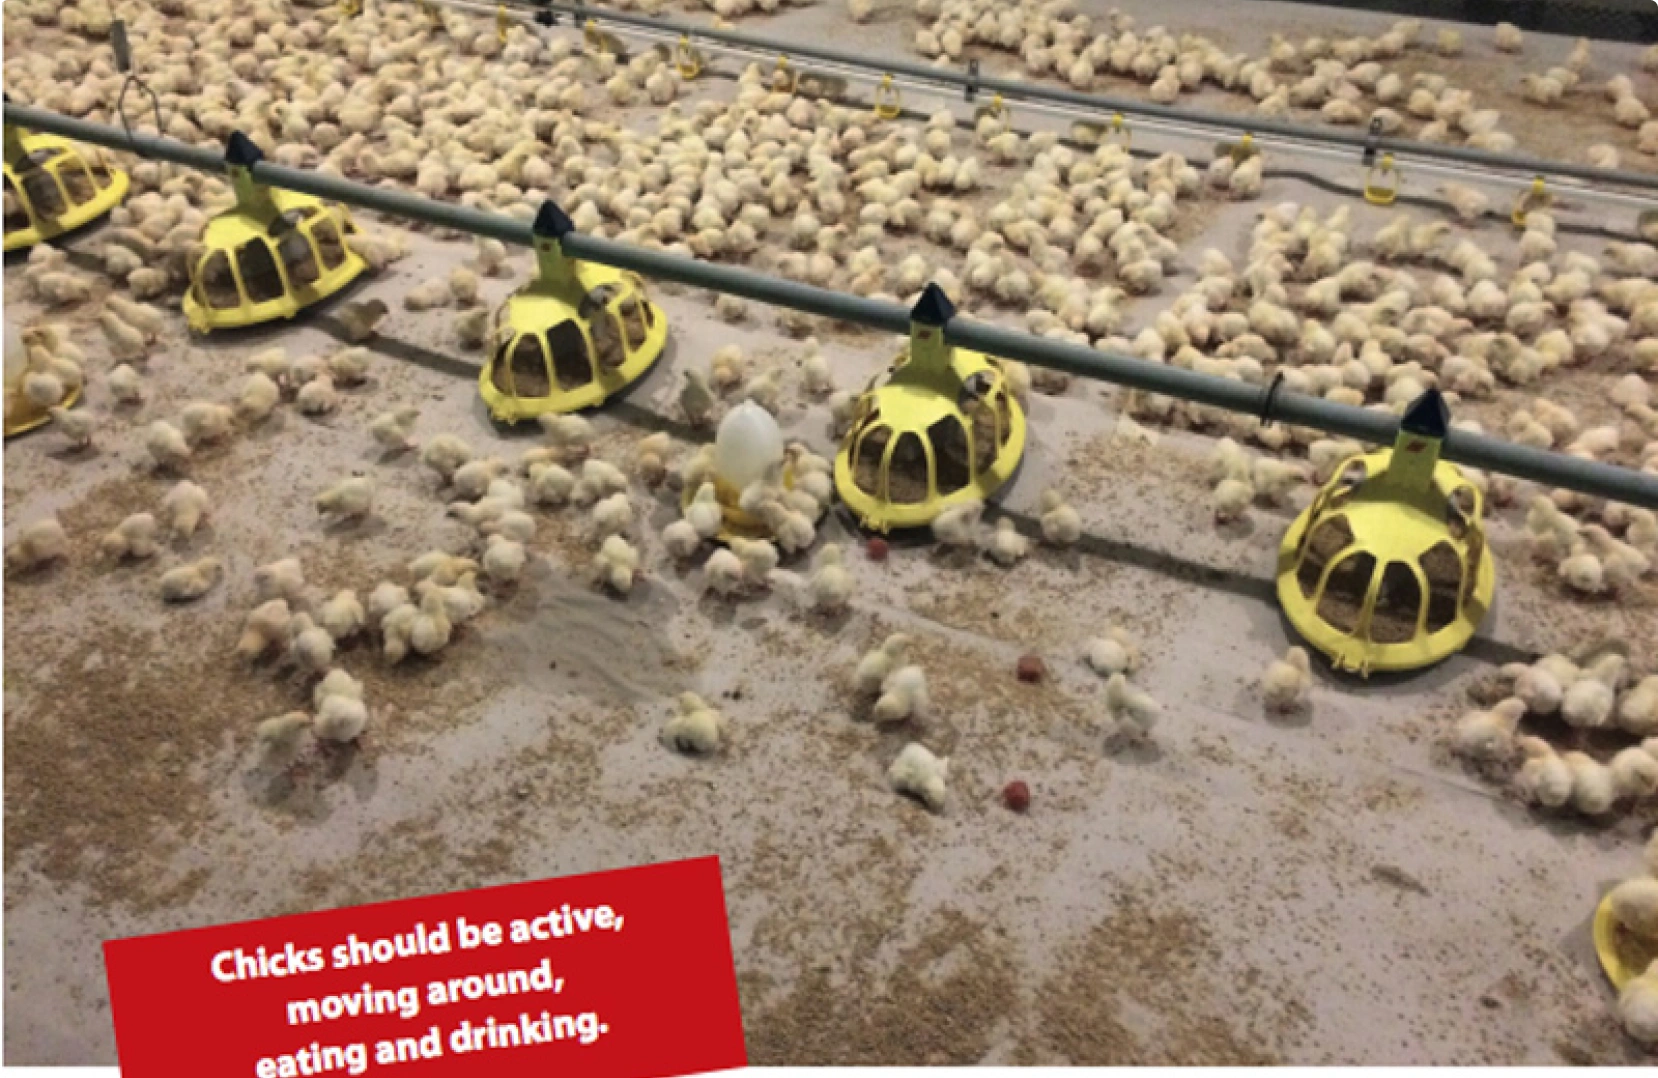
4 Pan feeders: 2 cm/bird 0–3 weeks and 4 cm/bird 3–16 weeks (diameter = 3.14 x circumference).
Floor rearing house preparation
There are mainly two types of floor brooding: whole house brooding or spot brooding. The one best for your system will depend on the equipment: heaters, drinkers and feeders.
Feeding system
Drinking system
Chicks must have unlimited access to clean, good quality, fresh water (20–25 °C). During the first days, cups or nipples should be checked and triggered several times per day to stimulate the chicks to drink. Supply additional drinkers which can be easily accessed until the chicks are drinking from the regular water system. Use extra bell drinkers at a ratio of 100/extra drinker (4 liters capacity).
Ventilation
Light intensity
Distribute litter and paper
Cage rearing preparation (cage rearing systems)
Distribution
Paper
Cage wires should be covered with paper during the first week of life. Avoid covering the area directly under the drinking system, but cover the surrounding area. When drinkers have a drip cup, you can put paper underneath them (see image). Keep the paper until 18 to 21 days of age. If Coccidia vaccine was applied, ask your veterinarian or H&N technical team for advice
Drinking system
360-activated nipples in the brooding cages are preferred. If unavailable, provide cup drinkers during the first week (30 to 40 chicks per drinker) Reduce the water pressure on the nipples to make triggering the nipples easier and attract the chicks by the drop formation. Take extra care when infrared beak treatment was applied at the hatchery!
Feeding system
Light intensity
Pre-heating the rearing house
Temperature recommendation
- Soil/Concrete: 28 °C
- Litter: 30 °C
- Air: 34 °C
Pre-heat the house before the chicks arrive: 24 hours in warm weather and 48 hours in cold weather.
Humidity recommendation
60 to 70 %
Do not only heat the air, but also litter, soil and equipment. Chicks gain and lose temperature easily through conduction.
Floor/Concrete
≥ 28 °C / ≥ 82.4 °F
When you don’t preheat the house to an optimal level you could experiment chick mortality and bad development impacting on immune and digestive systems.
Litter
≥ 32 °C / ≥ 89.6 °F
Checklist before chicks arrive
- Ensure a uniform temperature inside the house. Check the temperature in different areas (use an infrared thermometer). Check that temperature and humidity sensors are working properly.
- Check the time clock settings and light dimmer settings.
- Check automatic water and feed systems for correct settings and uniform distribution.
- Flush water lines before arrival.
- Trigger nipples and cups to ensure proper working condition and to stimulate the chicks to drink.
- Coordinate time of arrival with the hatchery and confirm the number and condition of the delivered chicks.
Arrival of the chicks
Airport
Chicks arrive to the destination airport after a long journey. Thus, the sooner they are liberated for the border authorities, the better will arrive to the farm. Keep in mind that a copy of all the chick’s documentation is always sent in the back of the white box included in the delivery.
In the meantime, chick crates / pallets never should be stored in conditions that are too hot or cold, windy, under the rain or in direct sunlight.
If crates are clearly damage or if you observe dead birds when the flock is delivered to you, an official claim should be completed before departing from the airport. You will find the official form in the back of the white box. H&N logistic team can support you in that case.
Transport to the farm
Unloading the chicks
Place the birds gently but quickly into the house and provide immediate access to water and feed. Crates should be taken into the farm and distributed as soon as possible. With floor brooding, place the chicks directly over the paper and feed. With cage and row aviary brooding, place the right number of chicks in each cage.
Males and females are preferred to be housed together from day 1. It is important to check the mortality, body weight, internal temperature from the just arrived chicks. These data should be recorded into the FSP program.
If you have any doubt about how to get correctly these data, get in contact with you H&N technical service staff. It is important to check during arrival the delivery note to confirm if the bird’s numbers, the vaccine applied at the hatchery or the special treatment are those that were demanded. Corrective measures are easy to take during the first day but misunderstanding error can be catastrophic afterwards.
Observe chick’s behavior right after placement
Key points
- A good and clear communication with H&N logistic team is a key component. They will answer and solve any doubts.
- Ensure the house has been cleaned and disinfected correctly before chicks arrive.
- Preheat the house to the correct temperature: Always test at chick level brooding period.
- Observe stocking density recommendations and adapt drinking and feeding systems to the brooding period.
- House the chicks quickly so they can access water and feed.
- Take the time to inspect the chicks for body temperature and quality.